Add migration tools
This article describes how to add migration tools in Azure Migrate.
- If you want to add a migration tool and haven't yet set up an Azure Migrate project, follow this article.
- If you've added an ISV tool for migration, follow the steps, to prepare to work with the tool.
Select a migration scenario
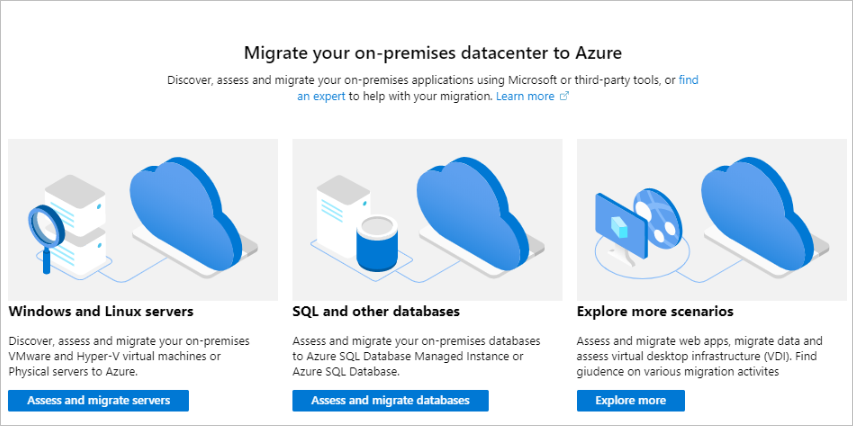
In the Azure Migrate project, select Overview.
Select the migration scenario you want to use:
- To migrate machines and workloads to Azure, select Assess and migrate servers.
- To migrate on-premises databases, select Assess and migrate databases.
- To migrate on-premises web apps, select Explore more > Web Apps.
- To migrate data to Azure using Data box, select Explore more > Data box.
Select a migration tool
Add a tool:
If you created an Azure Migrate project using the Assess and migrate servers option in the portal, the Migration and modernization tool is automatically added to the project. To add additional migration tools, in Servers, next to Migration tools, select Add more tools.
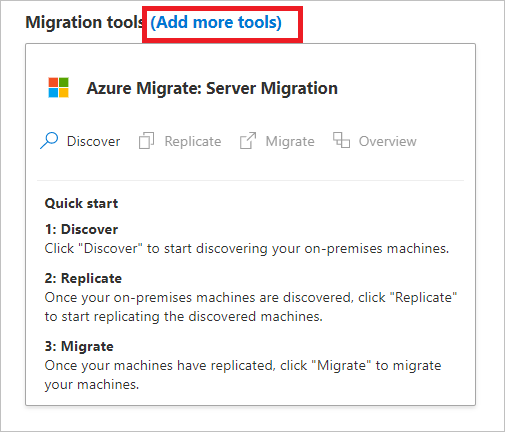
If you created a project using a different option, and don't yet have any migration tools, in Servers > Migration tools, select Click here.

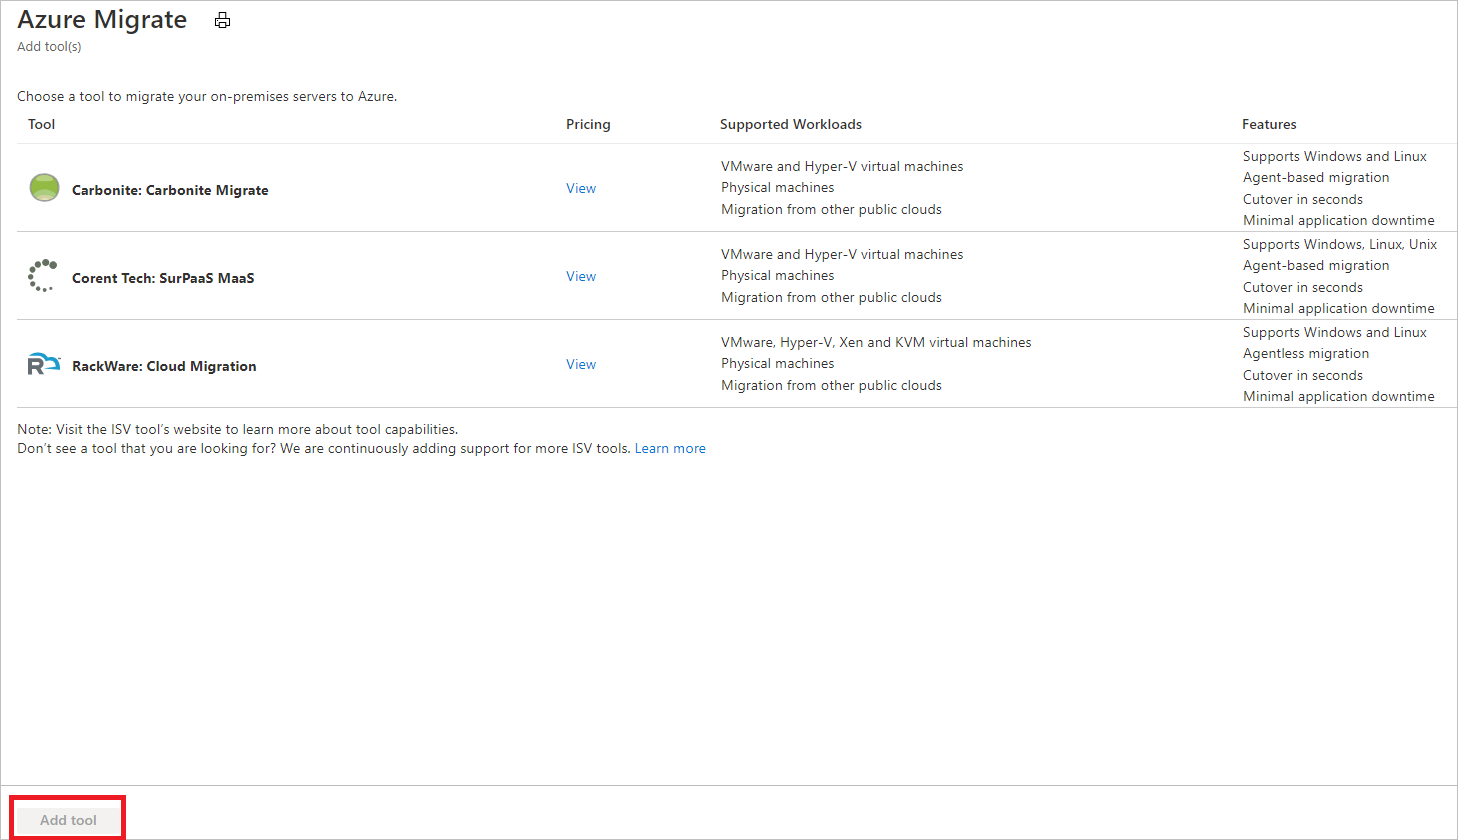
In Azure Migrate > Add tools, select the tools you want to add. Then select Add tool.
Select a database migration tool
If you created an Azure Migrate project using the Assess and migrate database option in the portal, the Database Migration tool is automatically added to the project.
If the Database Migration tool isn't in the project, in Databases > Assessment tools, select Click here.
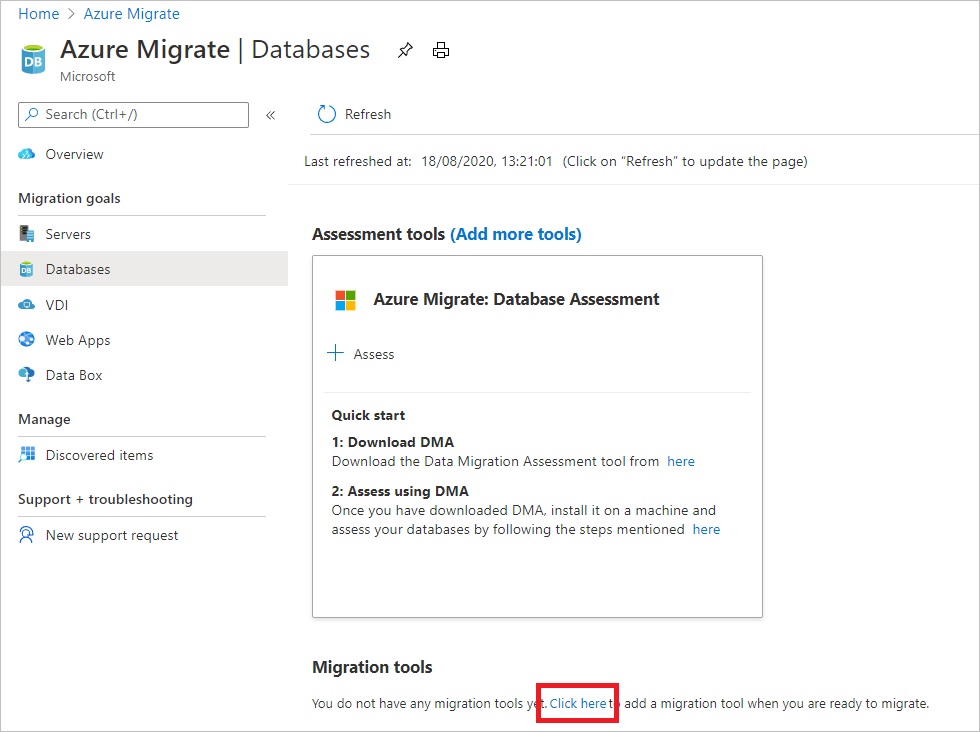
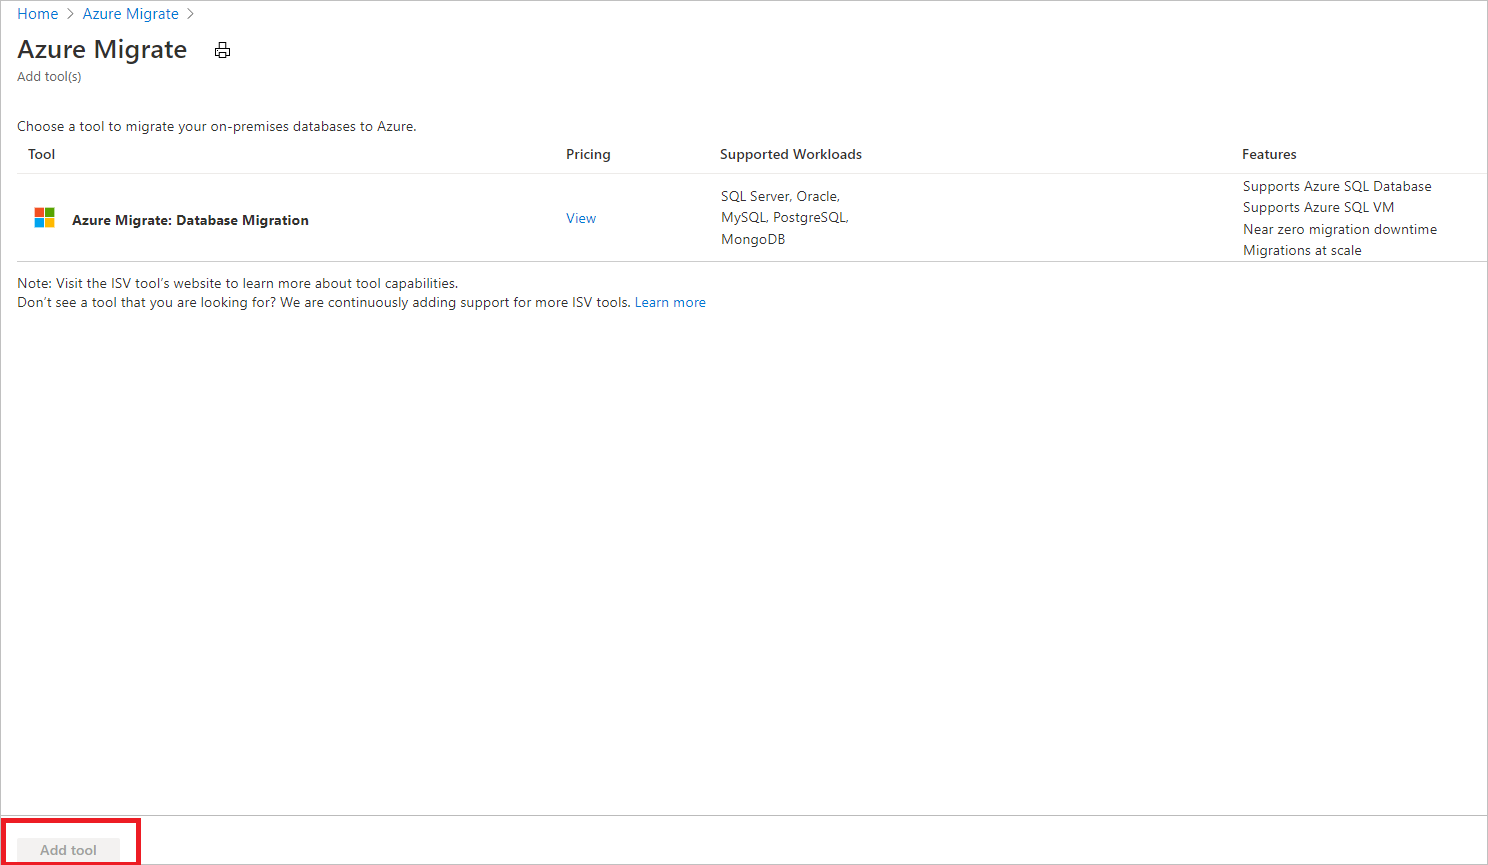
In Azure Migrate > Add tools, select the Database Migration tool. Then select Add tool.
Select a web app migration tool
If you created an Azure Migrate project using the Explore more > WebApps option in the portal, the Web app migration tool is automatically added to the project.
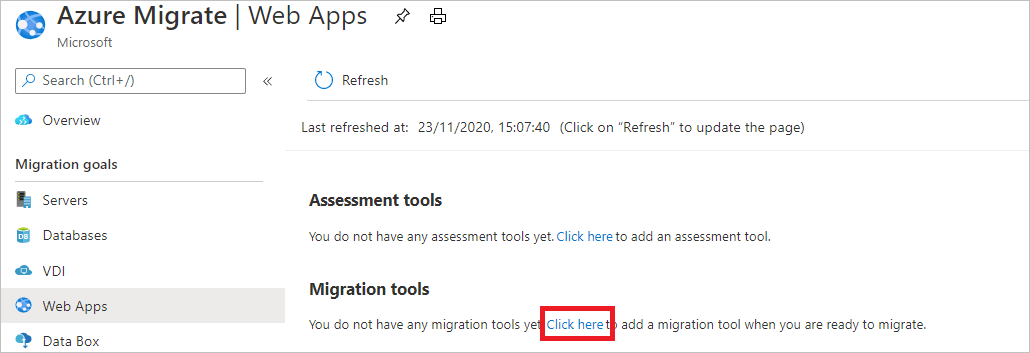
If the Web app migration tool isn't in the project, in Web apps > Assessment tools, select Click here.
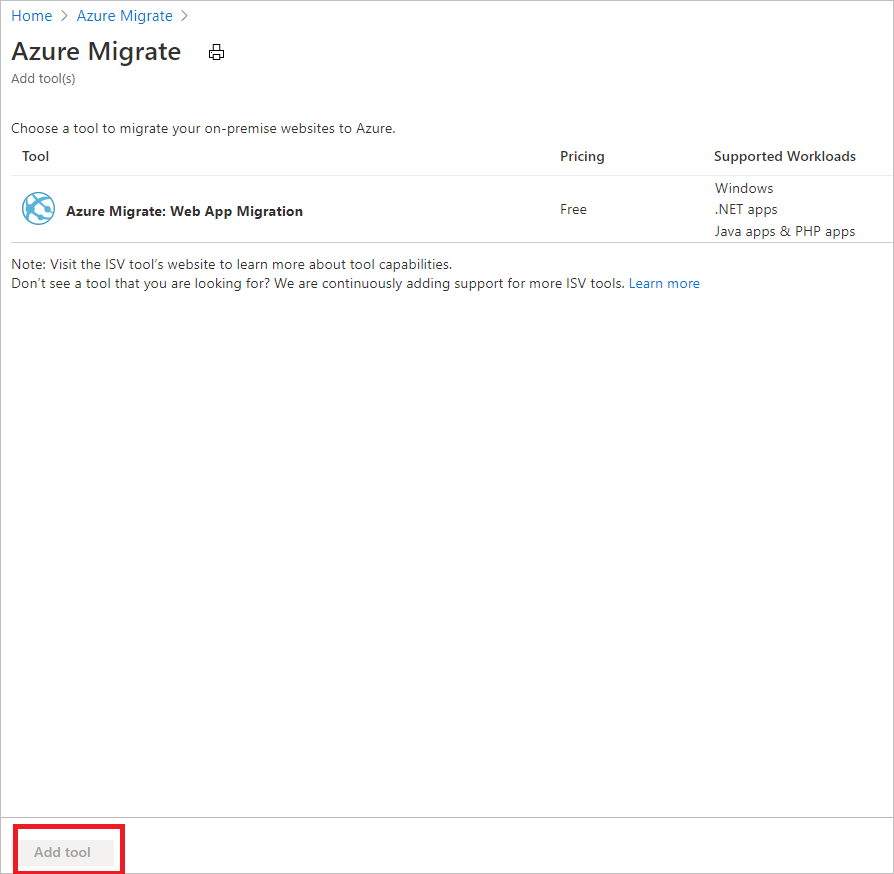
In Azure Migrate > Add tools, select the Web App Migration tool. Then select Add tool.
Order an Azure Data Box
To migrate large amounts of data to Azure, you can order an Azure Data Box for offline data transfer.
- In Overview, select Explore more.
- In Explore more, select Data box.
- In Get started with Data Box, select the subscription and resource group you want to use when ordering a Data Box.
- The Transfer type is an import to Azure. Specify the country/region in which the data resides, and the Azure region to which you want to transfer the data.
- Click Apply to save the settings.
Next steps
Try out a migration using the Migration and modernization tool for Hyper-V or VMware VMs.
Feedback
Coming soon: Throughout 2024 we will be phasing out GitHub Issues as the feedback mechanism for content and replacing it with a new feedback system. For more information see: https://aka.ms/ContentUserFeedback.
Submit and view feedback for