Take a tour of the Azure IoT Central UI
This article introduces you to Azure IoT Central UI. You can use the UI to create, administer, and use an IoT Central application and its connected devices.
IoT Central homepage
The IoT Central homepage page is the place to learn more about the latest news and features available on IoT Central and see and launch your existing applications.
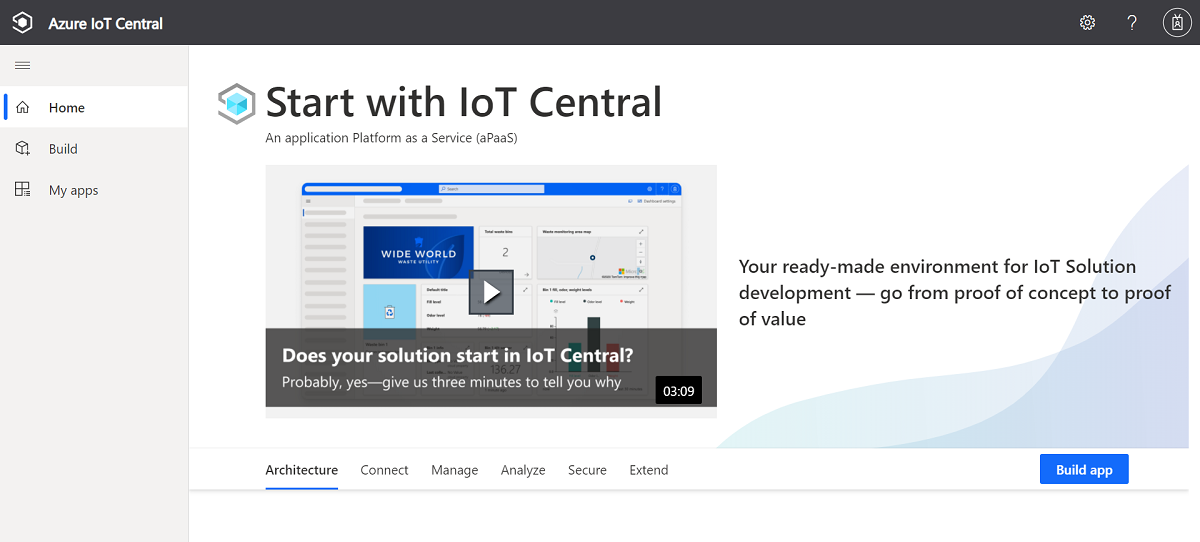
Launch your application
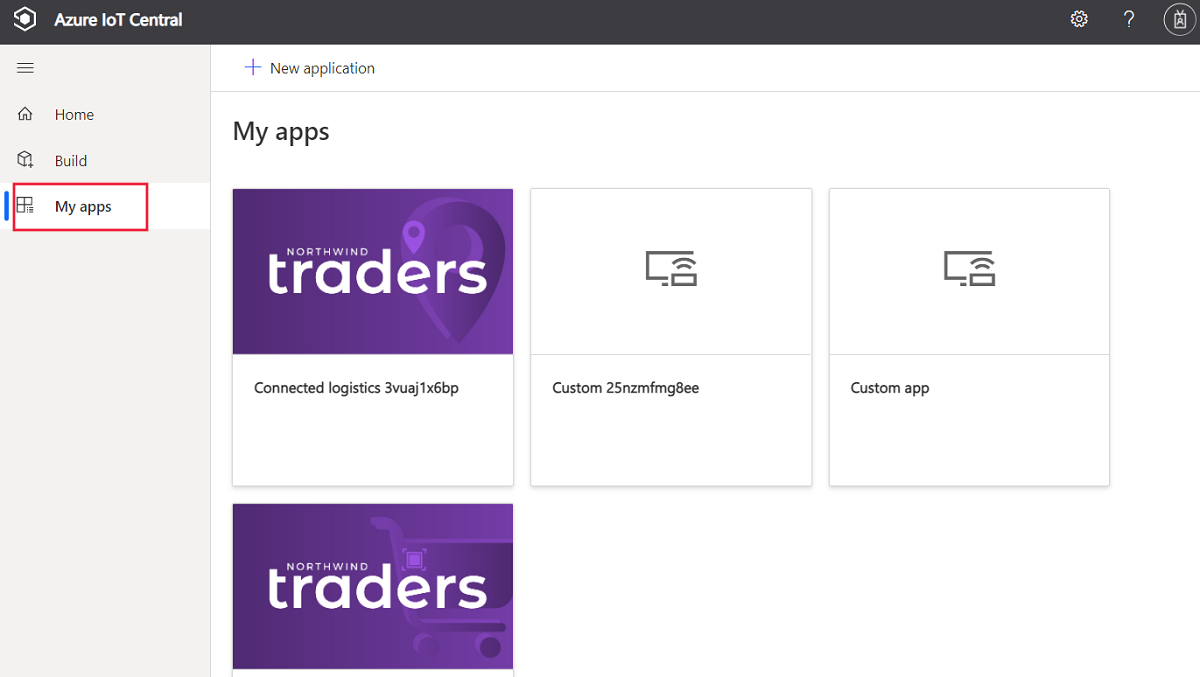
You launch your IoT Central application by navigating to the URL you chose during app creation. You can see a list of all the applications you have access to in the IoT Central app manager.
Navigate your application
Once you're inside your IoT application, use the left pane to access various features. You can expand or collapse the left pane by selecting the three-lined icon on top of the pane:
Note
The items you see in the left pane depend on your user role. Learn more about managing users and roles.

Devices lets you manage all your devices.
Device groups lets you view and create collections of devices specified by a query. Device groups are used through the application to perform bulk operations.
Device templates lets you create and manage the characteristics of devices that connect to your application.
Edge manifests lets you import and manage deployment manifests for the IoT Edge devices that connect to your application.
Data explorer exposes rich capabilities to analyze historical trends and correlate various telemetry types from your devices.
Dashboards displays all application and personal dashboards.
Jobs lets you manage your devices at scale by running bulk operations.
Rules lets you create and edit rules to monitor your devices. Rules are evaluated based on device data and trigger customizable actions.
Data export lets you configure a continuous export to external services such as storage and queues.
Audit logs lets you view changes made to entities in your application.
Permissions lets you manage an organization's users, devices and data.
Application lets you manage your application's settings, billing, users, and roles.
Customization lets you customize your application appearance.
IoT Central Home lets you jump back to the IoT Central app manager.
Search, help, theme, and support
The top menu appears on every page:

- To search for devices, enter a Search value.
- To change the UI language or theme, choose the Settings icon. Learn more about managing your application preferences
- To get help and support, choose the Help drop-down for a list of resources. You can get information about your application from the About your app link.
- To sign out of the application, choose the Account icon.
You can choose between a light theme or a dark theme for the UI:
Note
The option to choose between light and dark themes isn't available if your administrator has configured a custom theme for the application.

Devices

This page shows the devices in your IoT Central application grouped by device template.
- A device template defines a type of device that can connect to your application.
- A device represents either a real or simulated device in your application.
Device groups
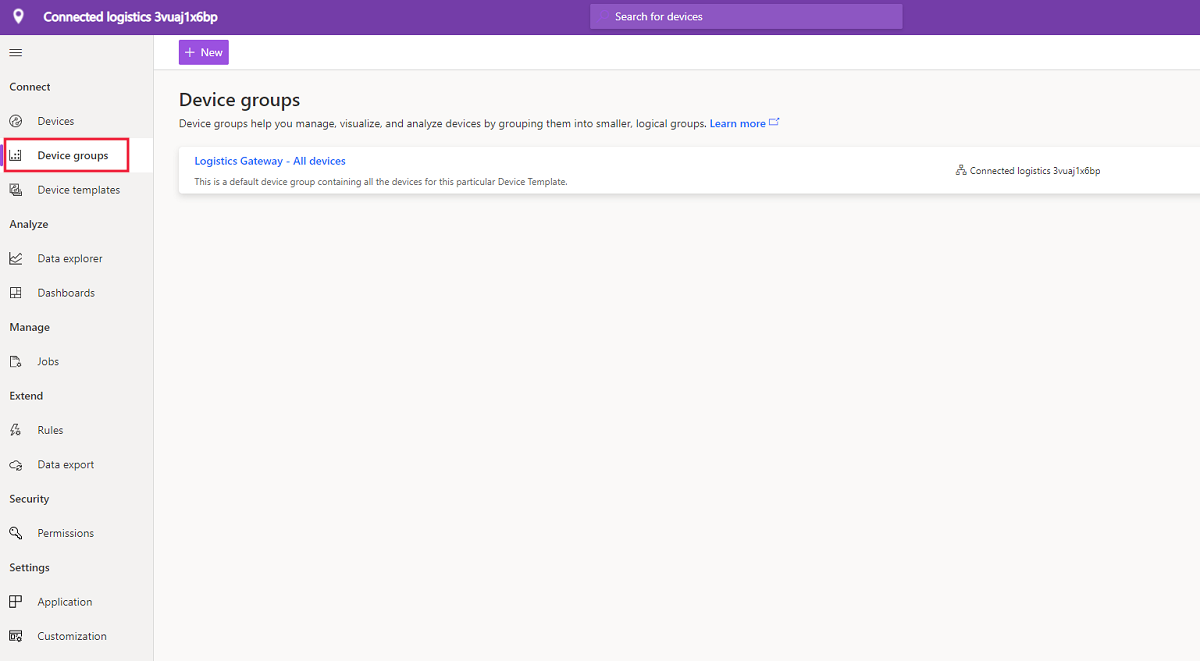
This page lets you create and view device groups in your IoT Central application. You can use device groups to do bulk operations in your application or to analyze data. To learn more, see the Use device groups in your Azure IoT Central application article.
Device templates

The device templates page is where you can view and create device templates in the application. To learn more, see Connect Azure IoT Edge devices to an Azure IoT Central application.
Edge manifests
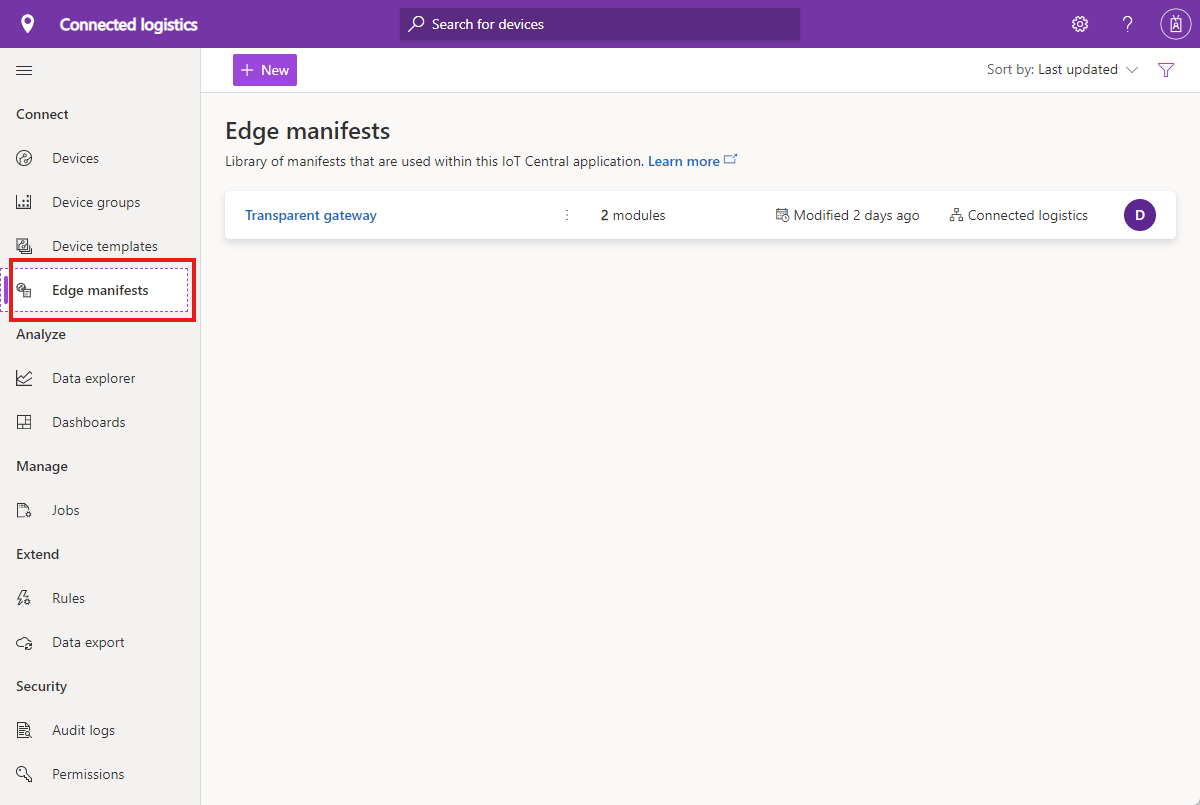
The edge manifests page is where you can import and manage IoT Edge deployment manifests in the application. To learn more, see the Define a new device type in your Azure IoT Central application tutorial.
Data Explorer

Data explorer exposes rich capabilities to analyze historical trends and correlate various telemetry types from your devices. To learn more, see the Create analytics for your Azure IoT Central application article.
Dashboards

- Personal dashboards can also be created to monitor what you care about. To learn more, see the Create Azure IoT Central personal dashboards how-to article.
Jobs

This page lets you view and create jobs that can be used for bulk device management operations on your devices. You can update device properties, settings, and execute commands against device groups. To learn more, see the Run a job article.
Rules

This page lets you view and create rules based on device data. When a rule fires, it can trigger one or more actions such as sending an email or invoking a webhook. To learn, see the Configuring rules tutorial.
Data export

Data export enables you to set up streams of data to external systems. To learn more, see the Export your data in Azure IoT Central article.
Audit logs
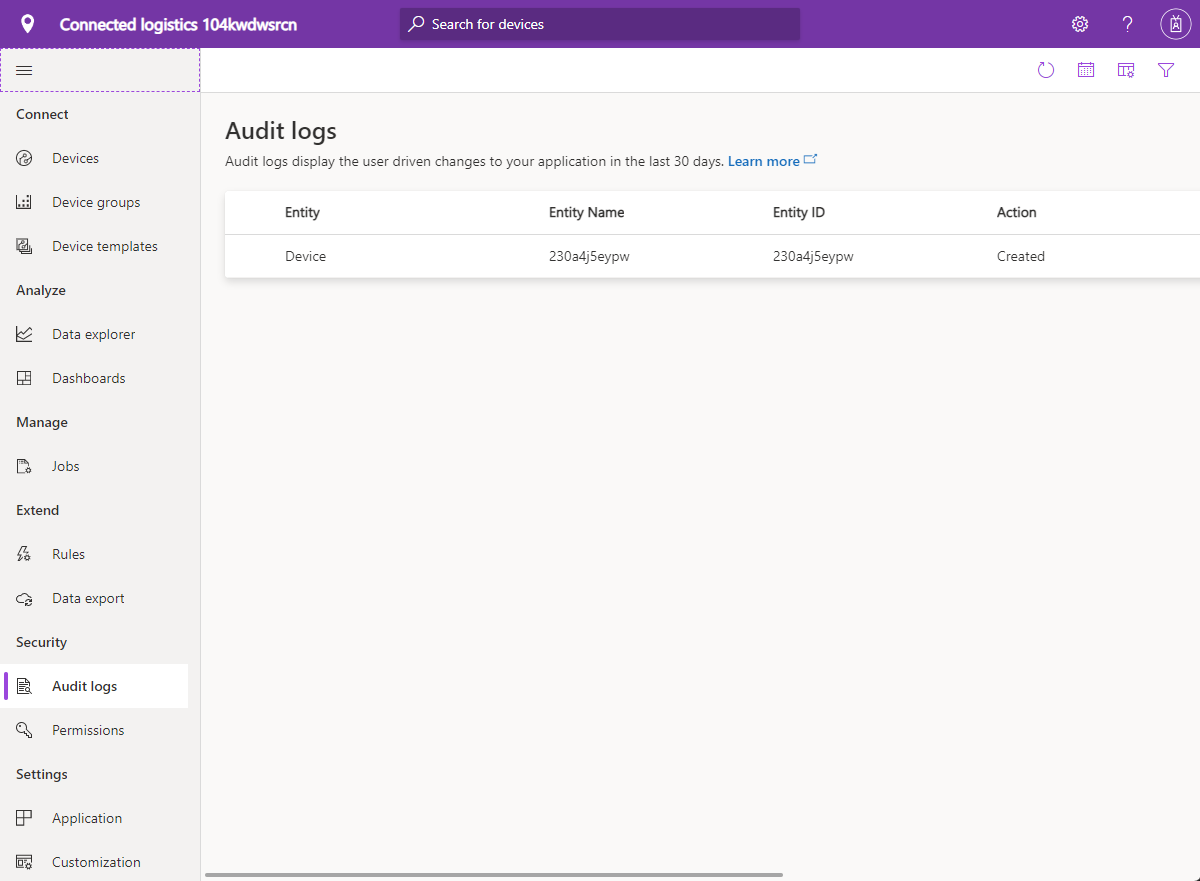
Audit logs enable you to view a list of recent changes made in your IoT Central application. To learn more, see the Use audit logs to track activity in your IoT Central application article.
Permissions

This page let you define a hierarchy that you use to manage which users can see which devices in your IoT Central application. To learn, see the Manage IoT Central organizations.
Application
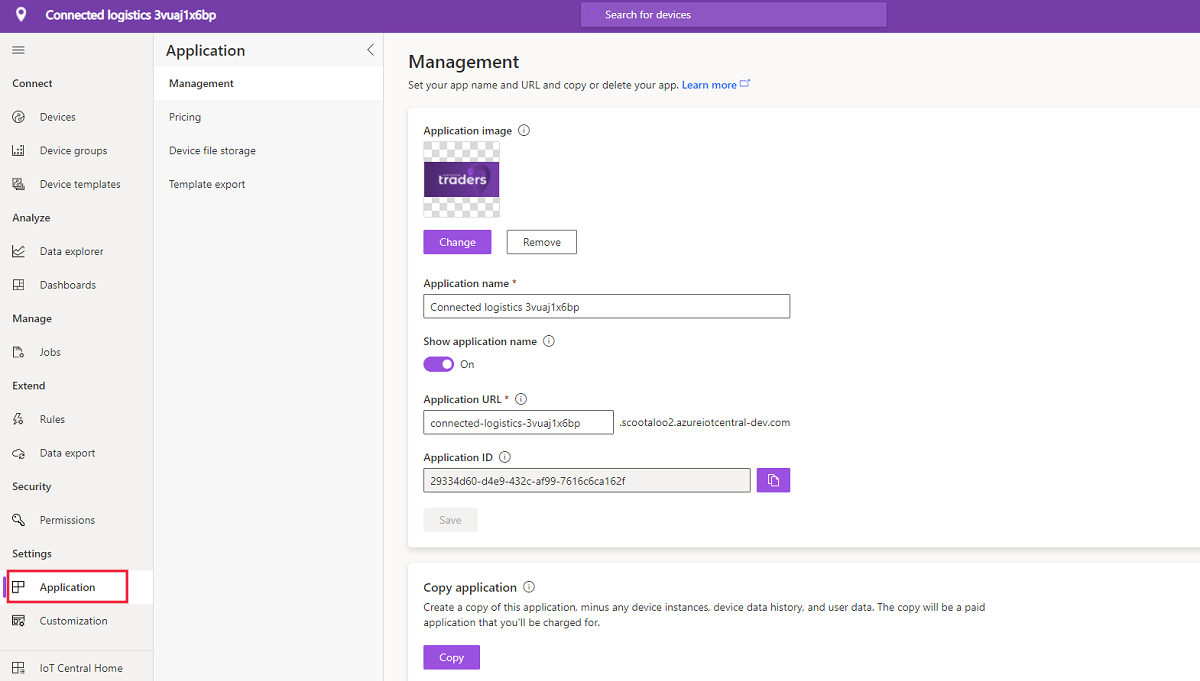
The application page allows you to configure your IoT Central application. Here you can change your application name, URL, theming, manage users and roles, create API tokens, and export your application. To learn more, see the Administer your Azure IoT Central application article.
Customization
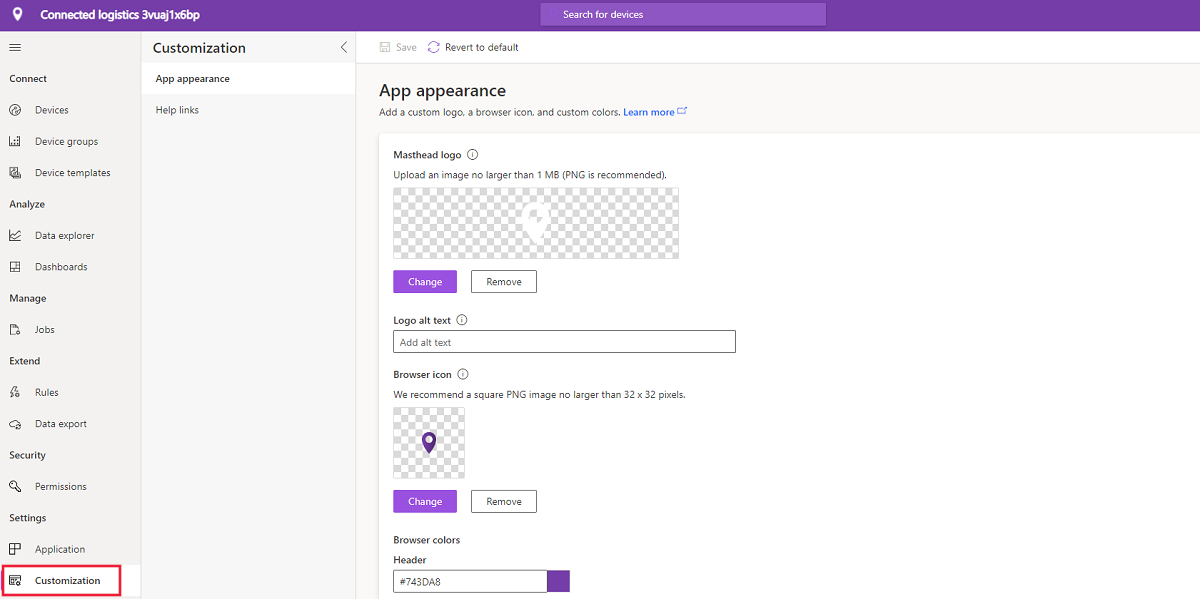
The customization page allows you to customize your IoT Central application. Here you can change your masthead logo, browser icon, and browser colors. To learn more, see the How to customize the Azure IoT Central UI article.
Next steps
Now that you have an overview of Azure IoT Central and are familiar with the layout of the UI, the suggested next step is to complete the Create an Azure IoT Central application quickstart.
Feedback
Coming soon: Throughout 2024 we will be phasing out GitHub Issues as the feedback mechanism for content and replacing it with a new feedback system. For more information see: https://aka.ms/ContentUserFeedback.
Submit and view feedback for