Enhanced collaboration experience with the Dynamics 365 app for Microsoft Teams
This article provides information on how to use enhanced collaboration with Microsoft Teams, and connect a record or view to a team channel from Dynamics 365 customer engagement apps.
License and role requirements
| Requirement type | You must have |
|---|---|
| License |
More information: |
| Security roles |
More information: Primary sales roles |
Overview
Easily connect customer engagement apps in Dynamics 365 (Dynamics 365 Sales, Dynamics 365 Customer Service, Dynamics 365 Field Service, Dynamics 365 Marketing, or Dynamics 365 Project Service Automation) records or views to a Microsoft Teams channel using the Collaborate button on the record or view page. The step-by-step process will help you connect the selected record or view to a Microsoft Teams channel.
The basic collaboration experience only lets you pin a record or a view to a team channel from within Microsoft Teams. The enhanced collaboration experience includes everything in the basic collaboration experience and also lets you pin connect a record or a view to a team channel while you are working in customer engagement apps in Dynamics 365 (such as Dynamics 365 Sales and Dynamics 365 Customer Service).
Connect a record or a view to a team channel from customer engagement apps in Dynamics 365
In customer engagement apps (such as Dynamics 365 Sales or Dynamics 365 Customer Service), open a record or a view.
On the command bar, select Collaborate.
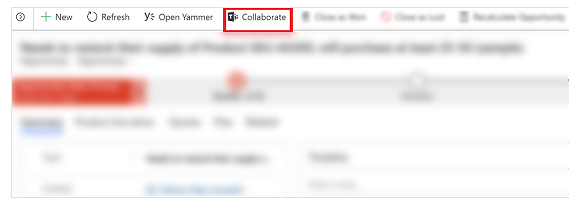
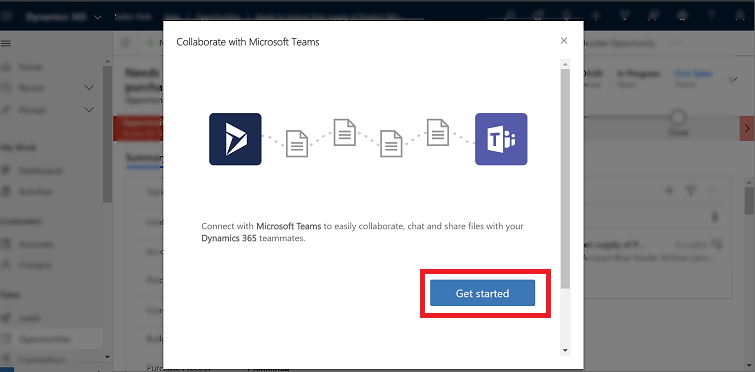
On the Collaborate with Microsoft Teams window, you will see one of the following:
If there’s no channel: You can connect the current record or view to any team channel by selecting, Get started.
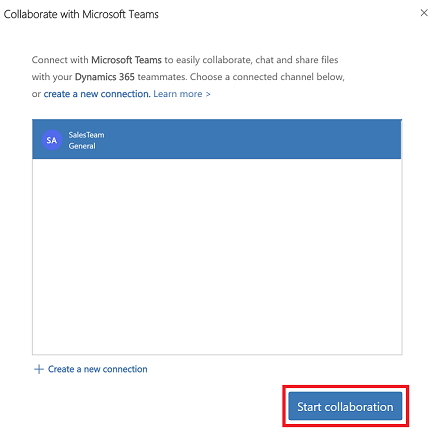
If there is channel that's already connected: Select a channel from the list and then select, Start collaboration. This will open Microsoft Teams and navigate to the channel that you selected. Or, connect the current record or view to a new team channel by selecting, Create a new connection.
Note
If you selected an existing connected team channel where you are not the owner or member in that team, then when Microsoft Teams opens, select Join to send request to be added to the channel.
After you select Get started or Create a new connection, you will enter into the connection process.
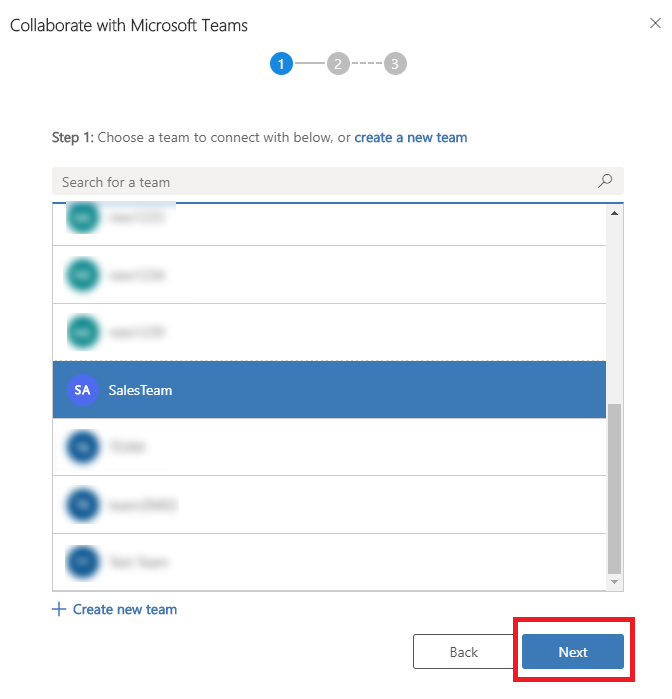
Step 1: Choose an existing team or create a new team.
Choose an existing team that you belong to and then select Next.
Or, create a new team:
Select Create new team.
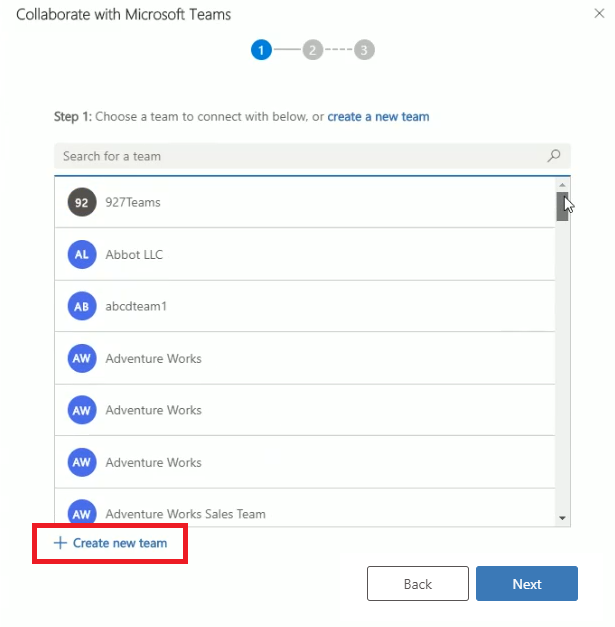
Enter a name for the team and then select Next.
If your administrator has enabled sensitivity labels for Teams, you will see the Sensitivity field. Select a Sensitivity label from the list. Hover over the label to see tooltips to get more information about the label. Select Make it a private team to ensure that only the team owner can add additional members.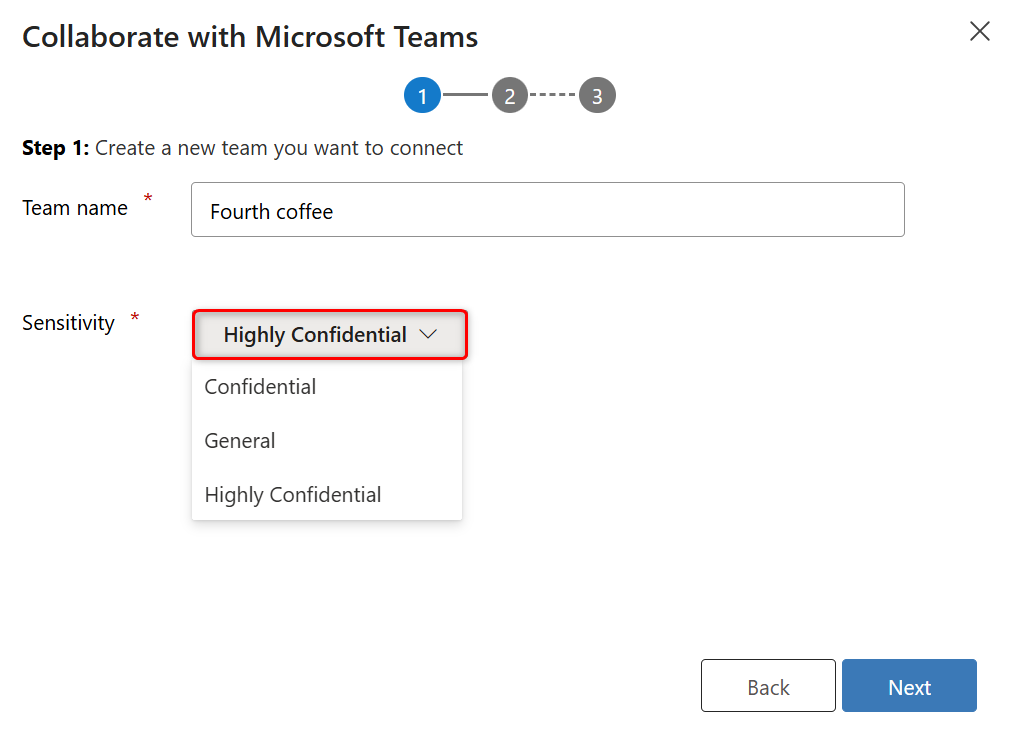
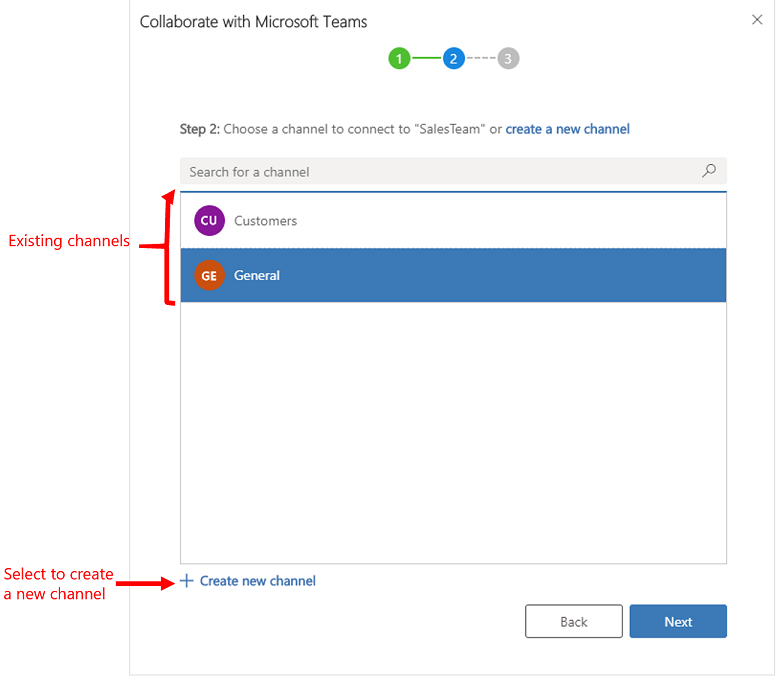
Step 2: Choose an existing channel and then select Next, or select Create new channel to create a new channel.
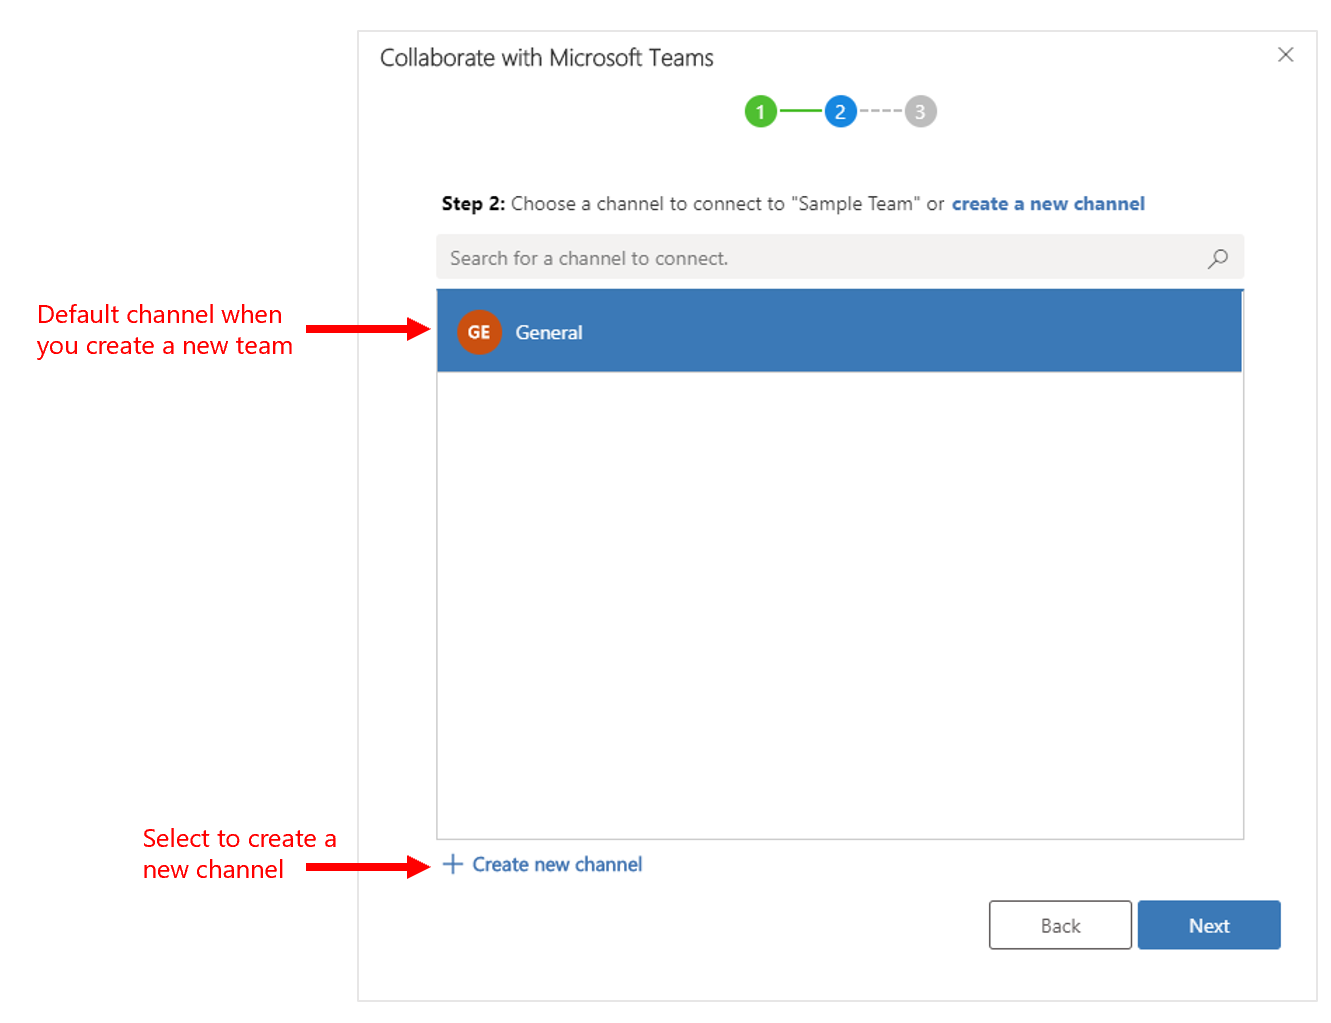
Note
When you create a new team, the system automatically creates a channel named General. You can connect the current record to the General channel and then select Next or select create new channel to create a new channel under the newly created team.
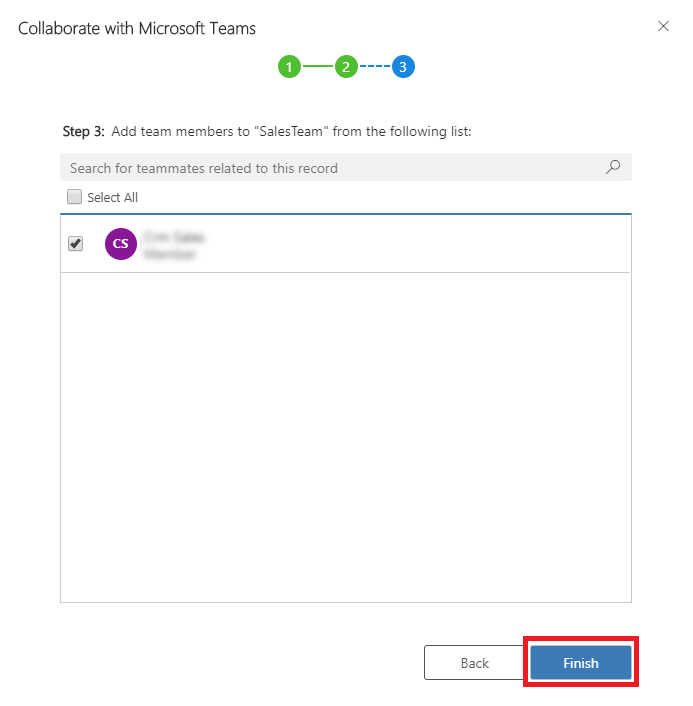
Step 3: If you are the owner of the selected team then you can add recommended teammates who either own the record or the record has been shared with them to the team member group. From the list, select any or all listed teammates. You can also use the search option to find the teammates in the list. When you are done, select Finish.
Note
You will see this step only if you are the owner of the selected team while connecting to a customer engagement app record. If you are connecting a view of customer engagement app to a Microsoft Teams channel, you will skip this step. For more information on how to share a record, see Assign or share records..
When the connection process is complete, the system will open Microsoft Teams and go to channel that you connected.
See also
Feedback
Coming soon: Throughout 2024 we will be phasing out GitHub Issues as the feedback mechanism for content and replacing it with a new feedback system. For more information see: https://aka.ms/ContentUserFeedback.
Submit and view feedback for