Tutorial: Share spatial anchors across sessions and devices
Azure Spatial Anchors is a cross-platform developer service with which you can create mixed-reality experiences by using objects that persist their location across devices over time.
In this tutorial, you use Azure Spatial Anchors to create anchors during one session and then locate them on the same device or a different one. The same anchors can also be located by multiple devices in the same place and at the same time.
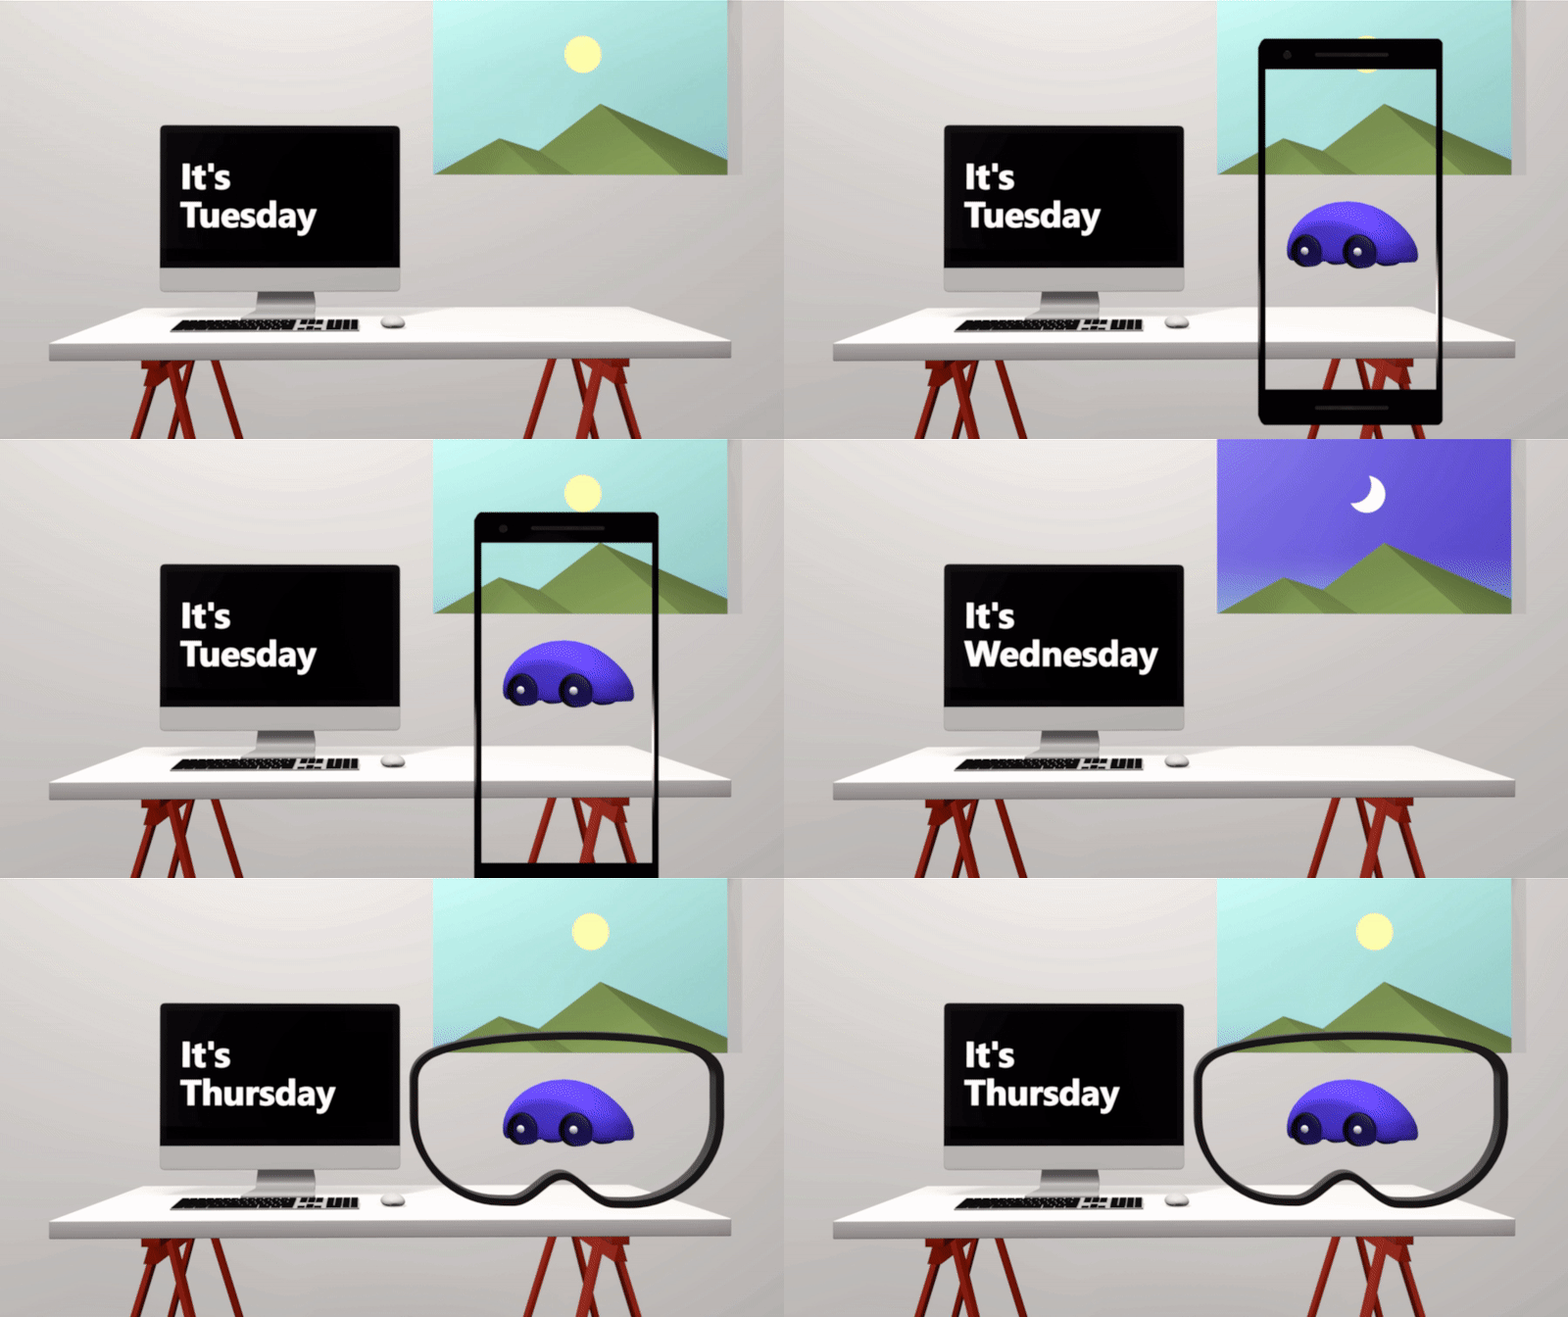
In this tutorial, you'll learn how to:
- Deploy an ASP.NET Core web app in Azure that you can use to share anchors, and store the anchors in memory for a specified period of time.
- Configure the AzureSpatialAnchorsLocalSharedDemo scene within the Unity sample from our quickstarts to take advantage of the Sharing Anchors web app.
- Deploy and run the anchors to one or more devices.
If you don't have an Azure subscription, create an Azure free account before you begin.
Prerequisites
Before you begin this tutorial, be sure you've met the following prerequisites:
- Read the Azure Spatial Anchors overview.
- Complete one of the 5-minute quickstarts.
Note
Android/NDK and iOS/Swift quickstarts don't currently showcase the capabilities explained in this tutorial.
- A basic knowledge of either:
- A Windows computer with Visual Studio 2019 or later, and the ASP.NET and web development workload.
- The .NET Core 3.1 SDK.
- One or more of the following devices on which to deploy and run an app: HoloLens, HoloLens 2, iOS, or Android.
Note
You'll be using Unity and an ASP.NET Core web app in this tutorial, but the approach here is only to provide an example of how to share Azure Spatial Anchors identifiers across other devices. You can use other languages and back-end technologies to achieve the same goal.
Create a Spatial Anchors resource
Go to the Azure portal.
On the left pane, select Create a resource.
Use the search box to search for Spatial Anchors.
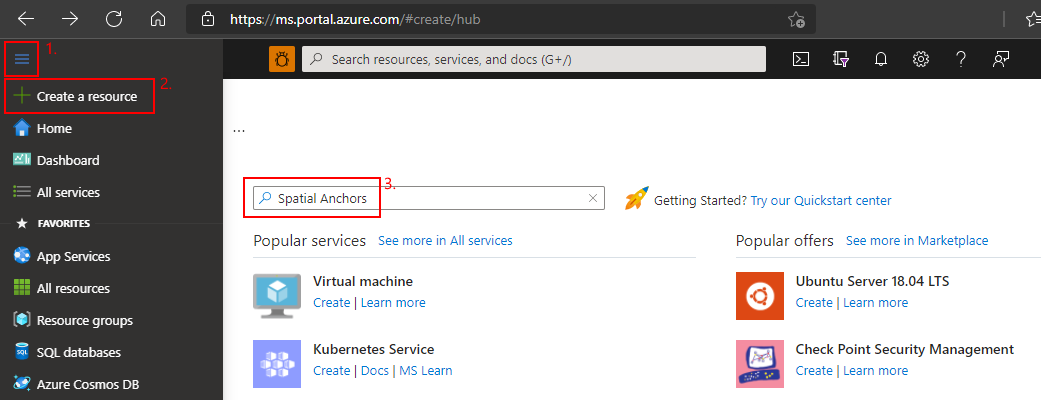
Select Spatial Anchors, and then select Create.
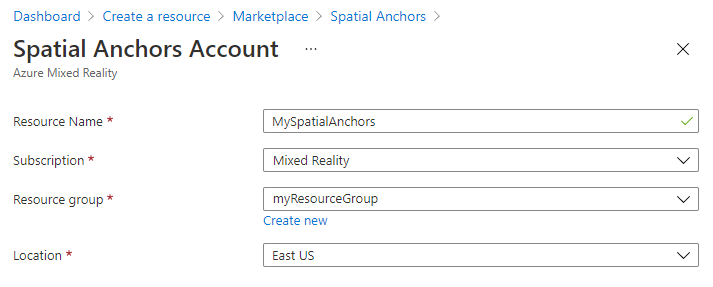
On the Spatial Anchors Account pane, do the following:
Enter a unique resource name by using regular alphanumeric characters.
Select the subscription that you want to attach the resource to.
Create a resource group by selecting Create new. Name it myResourceGroup, and then select OK.
A resource group is a logical container into which Azure resources, such as web apps, databases, and storage accounts, are deployed and managed. For example, you can choose to delete the entire resource group in one simple step later.
Select a location (region) in which to place the resource.
Select Create to begin creating the resource.
After the resource is created, the Azure portal shows that your deployment is complete.
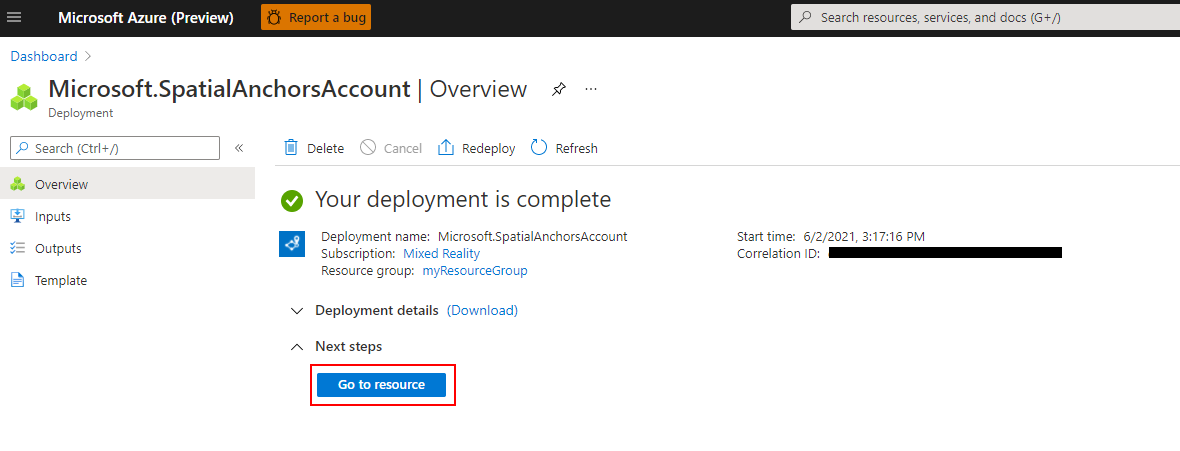
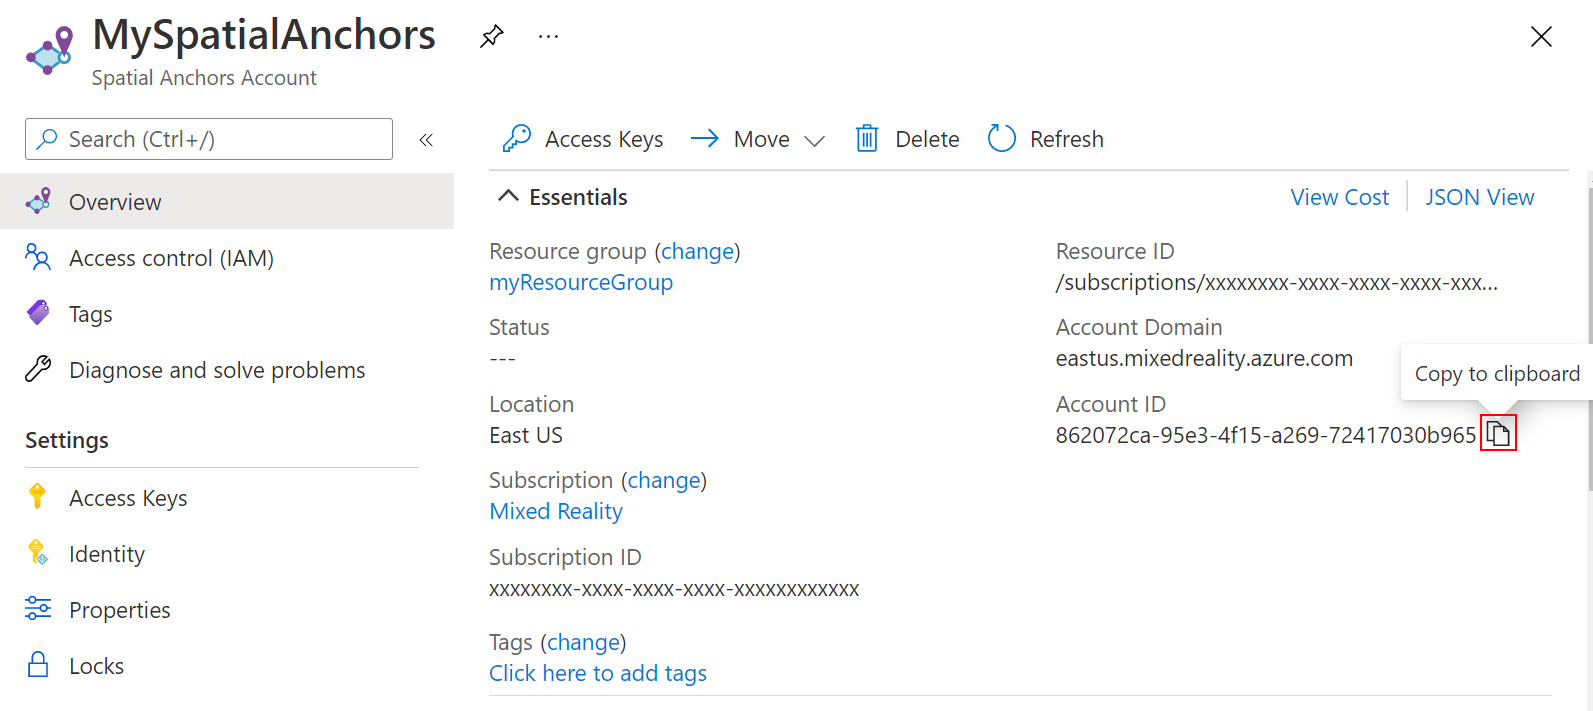
Select Go to resource. You can now view the resource properties.
Copy the resource's Account ID value into a text editor for later use.
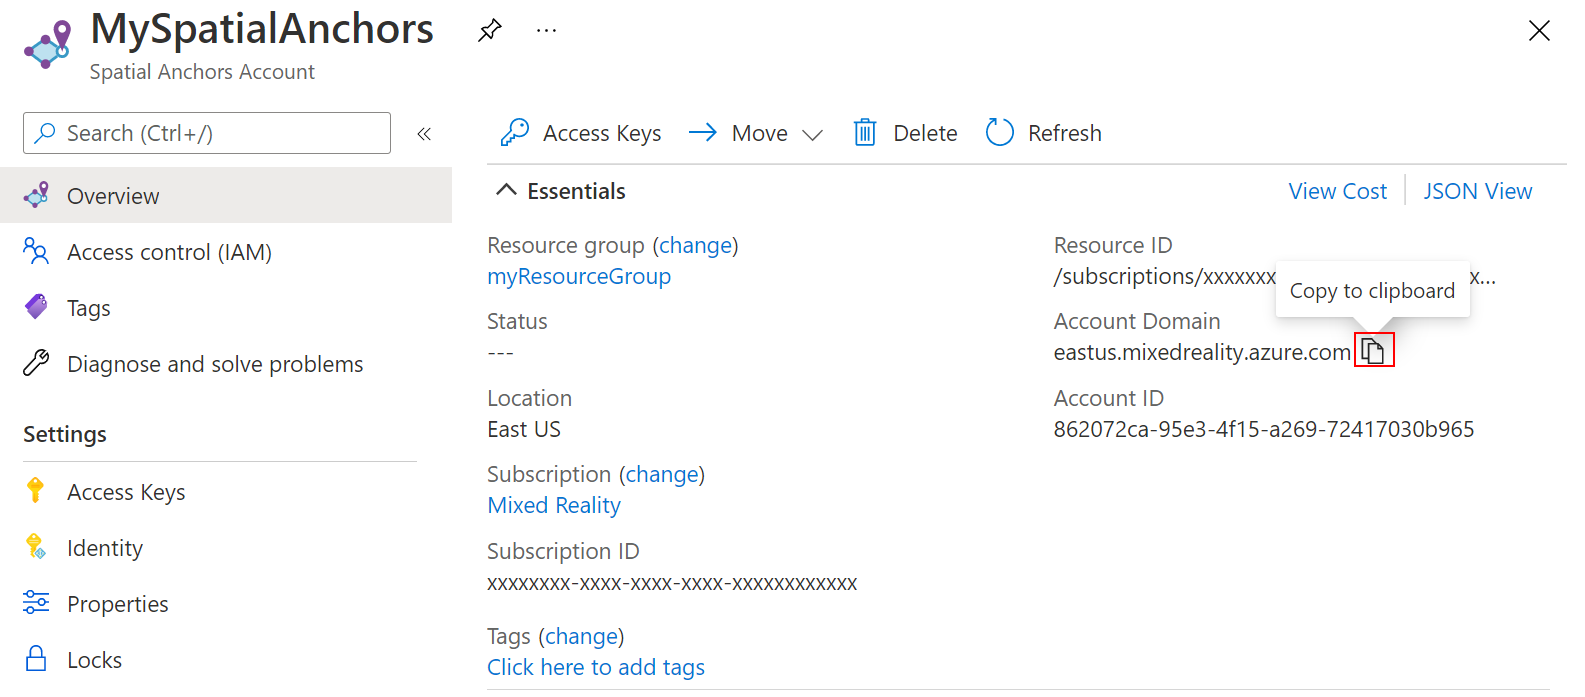
Also copy the resource's Account Domain value into a text editor for later use.
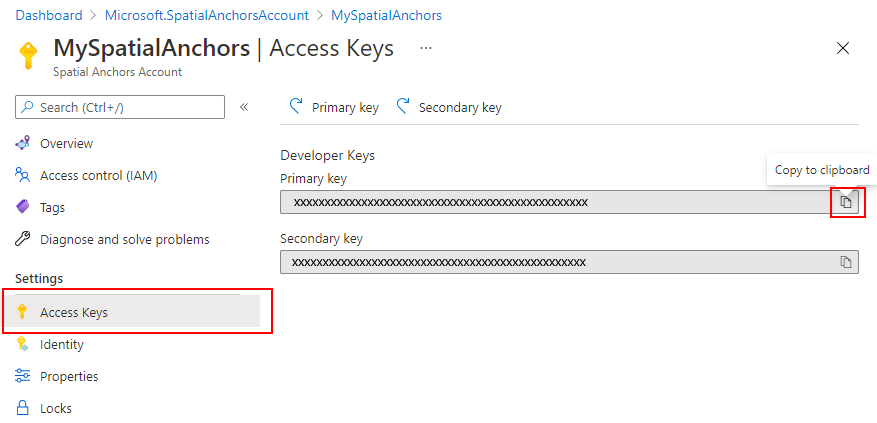
Under Settings, select Access Key. Copy the Primary key value, Account Key, into a text editor for later use.
Download the sample project + import SDK
Clone Samples Repo
Clone the samples repository by running the following commands:
git clone https://github.com/Azure/azure-spatial-anchors-samples.git
cd ./azure-spatial-anchors-samples
Import ASA SDK
Follow the instructions here to download and import the ASA SDK packages required for the HoloLens platform.
Deploy the Sharing Anchors service
Note
In this tutorial we will be using the free tier of the Azure App Service. The free tier will time out after 20 min of inactivity and reset the memory cache.
Open Visual Studio, and then open the project in the Sharing\SharingServiceSample folder.
Open the publish wizard
In Solution Explorer, right-click the SharingService project, and then select Publish....
The Publish Wizard starts.
- Select Target Azure > Next.
- Select Specific Target Azure App Service (Windows) > Next
- Sign in to the Azure portal.
- Select the green "+" to Create an Azure App Service
App Service Settings
| Setting | Suggested value | Description |
|---|---|---|
| Name | myASASharingService | Give your service a unique name |
| Subscription Name | Select your preferred Azure subscription | |
| Resource Group | myResourceGroup or select an existing one | A resource group is a logical container into which Azure resources, such as web apps, databases, and storage accounts, are deployed and managed. For example, you can choose to delete the entire resource group in one simple step later. |
| Hosting Plan | Select New... and see table below | An App Service plan specifies the location, size, and features of the web server farm that hosts your app. You can save money when you host multiple apps by configuring the web apps to share a single App Service plan.App Service plans define:
|
Hosting Plan Settings
| Setting | Suggested value | Description |
|---|---|---|
| Hosting Plan | MySharingServicePlan | Give your hosting plan a unique name |
| Location | West US | The datacenter where the web app is hosted. Choose a location closest to the physical location your application will be used |
| Size | Free | The pricing tier that determines hosting features |
- Select Create to create the App Service
- Once the app service is created select it in the "App service instances" list and select Finish
- On the SharingService: Publish tab select Publish
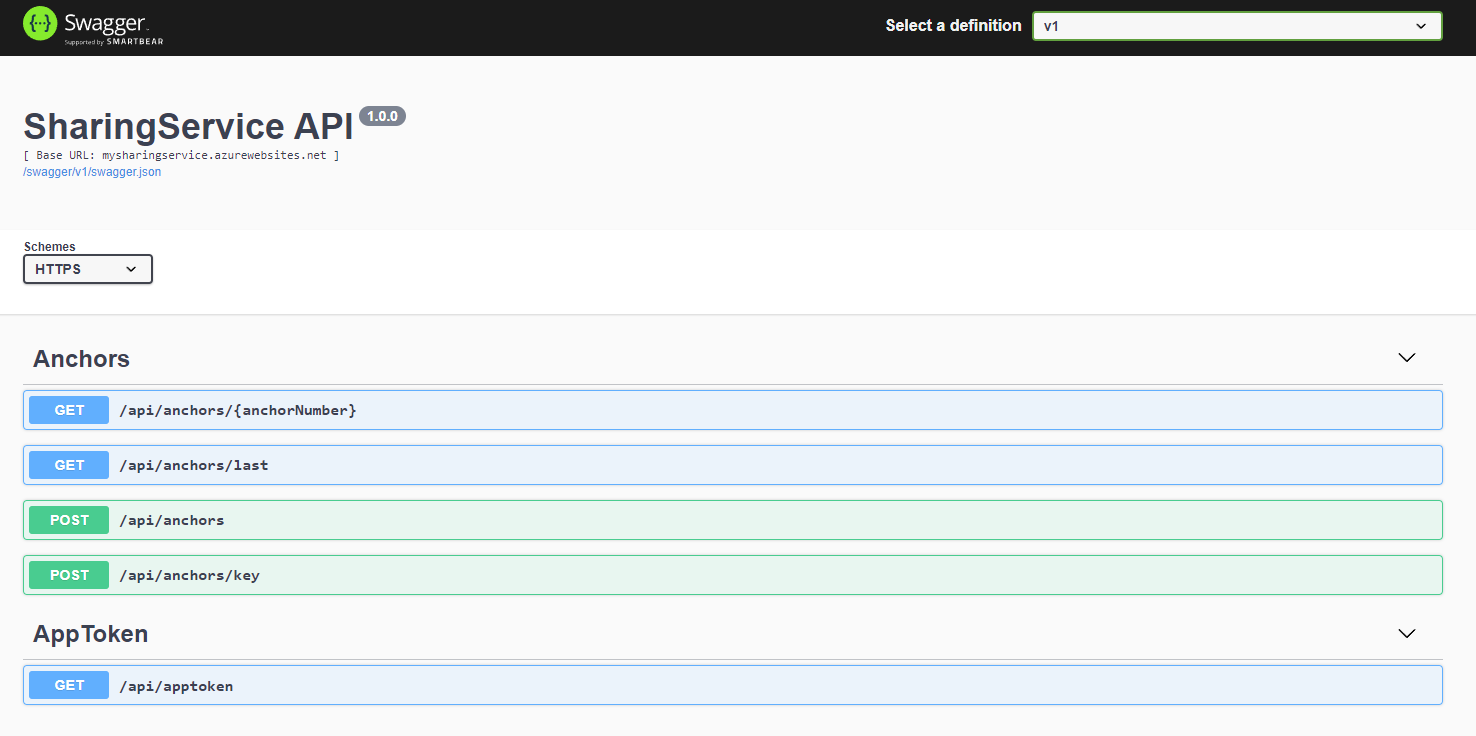
Once the ASP.NET Core web app has been published to Azure you can go to https://<your_app_name>.azurewebsites.net or click the link next to Site: on the SharingService: Publish tab. Copy this URL to a text editor for later use.
Configure + deploy the sample app
Open Project
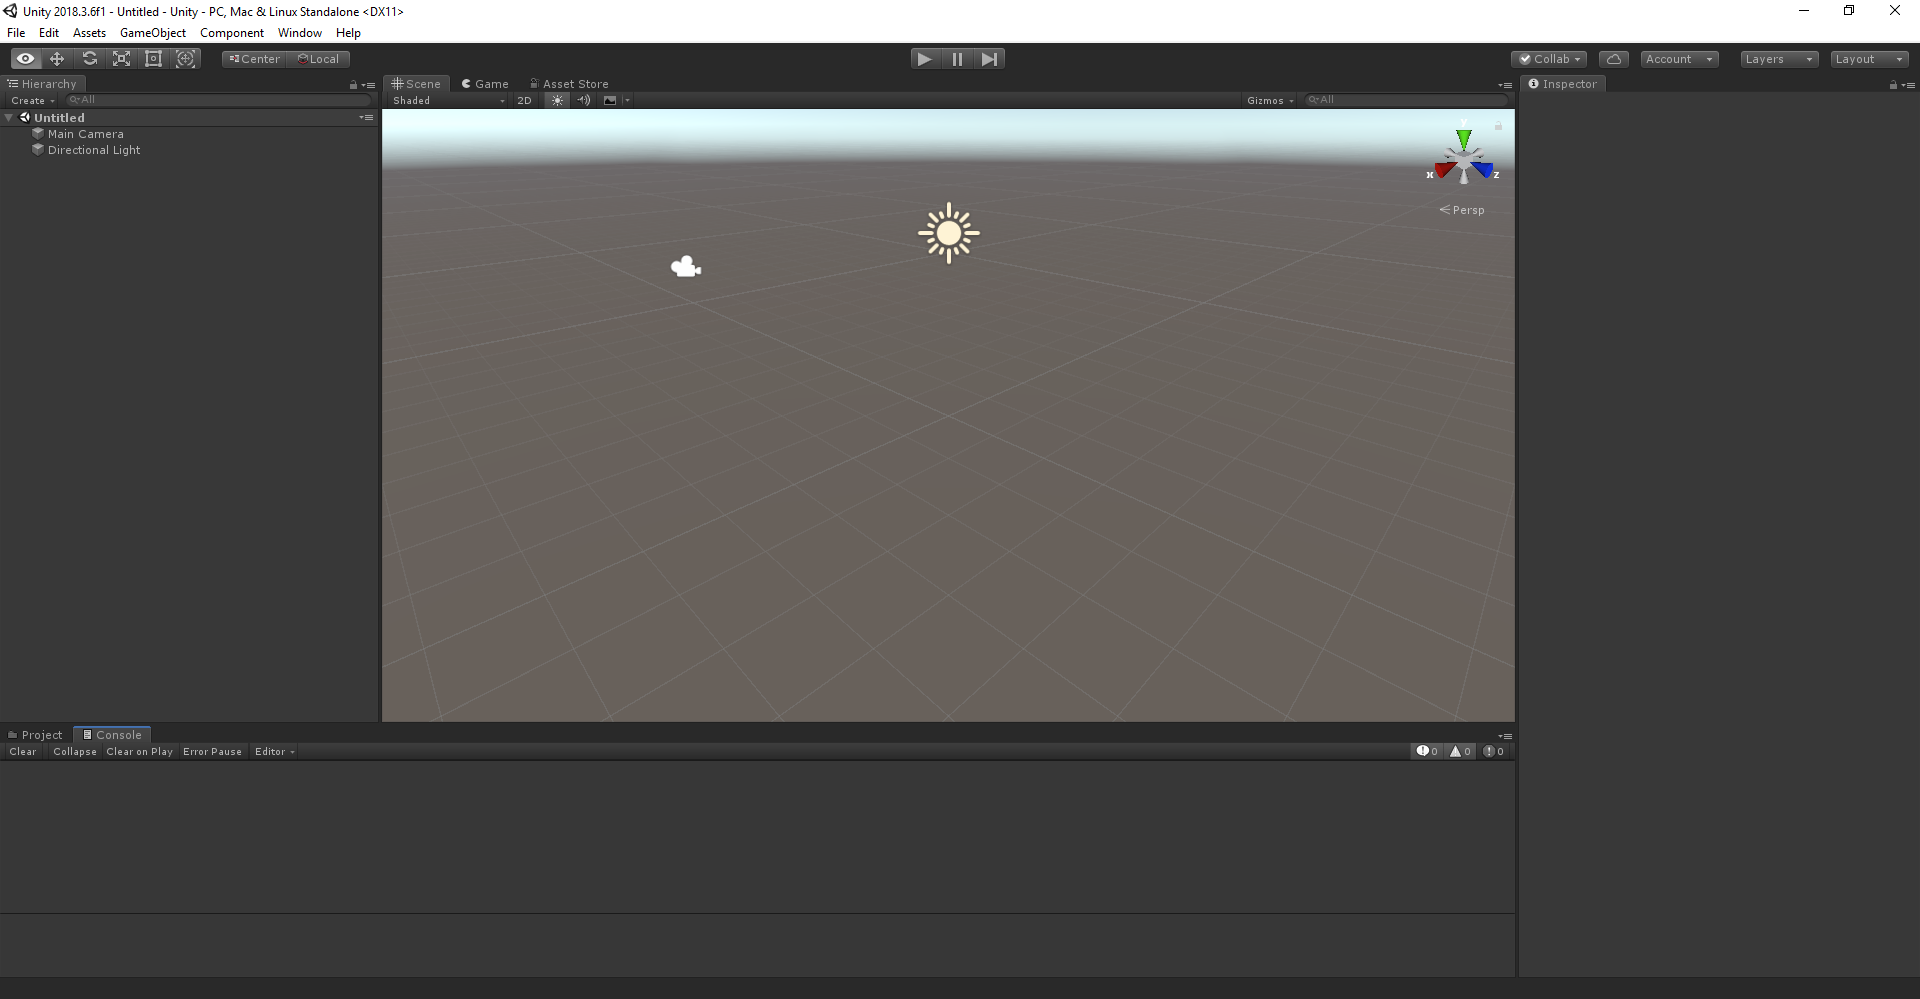
In Unity, open the project in the Unity folder. Unity might prompt you about a difference between the version in the project and the version that's installed on your machine. This warning is okay, as long as your version of Unity Editor is newer than the one that the project was created with. If your version is newer, select Continue. If your version is older than the one the project needs, select Quit, and upgrade your Unity Editor.
Setup Build Settings
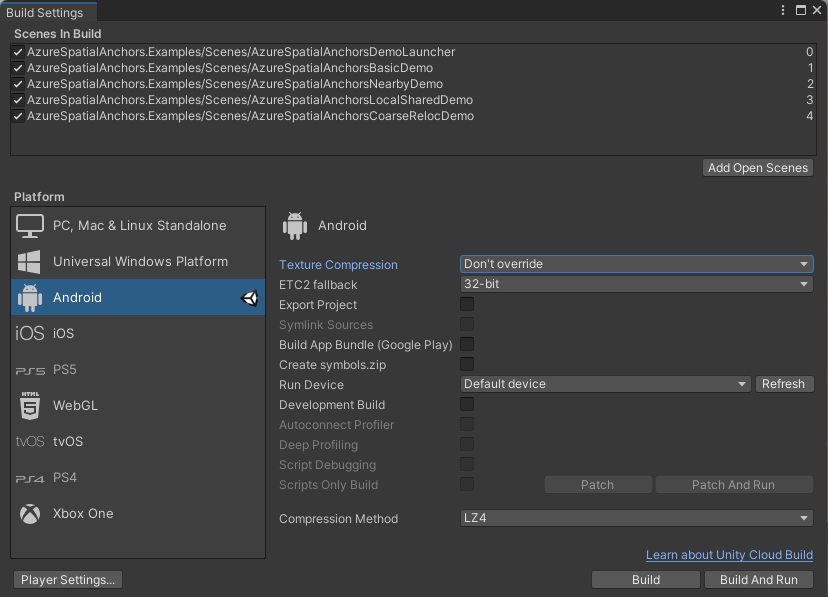
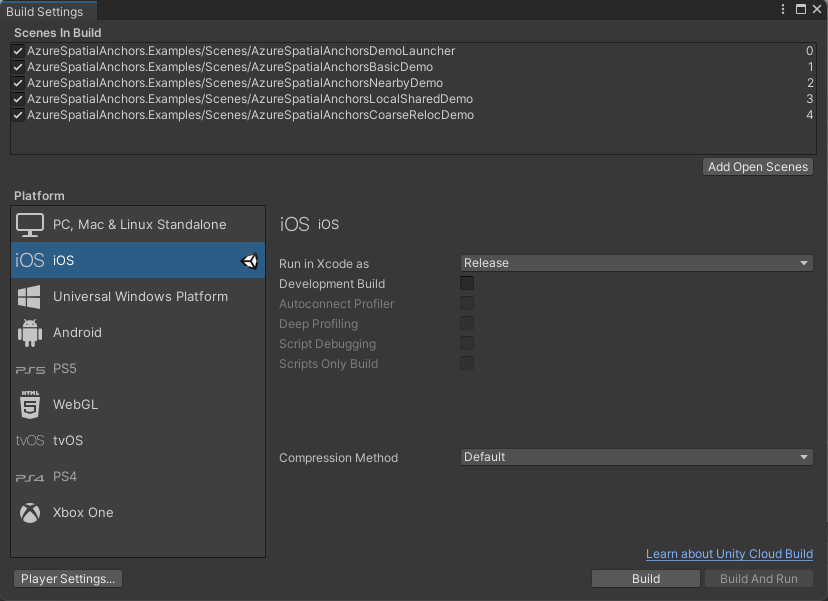
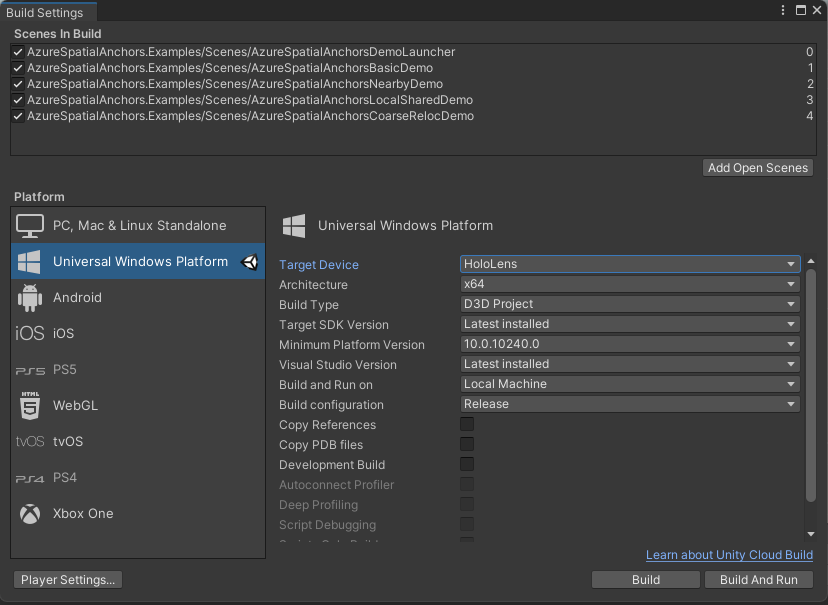
Open Build Settings by selecting File > Build Settings.
In the Platform section, select Universal Windows Platform. Change the Target Device to HoloLens.
Select Switch Platform to change the platform to Universal Windows Platform. Unity might prompt you to install UWP support components if they're missing.
Close the Build Settings window.
Configure the account information
The next step is to configure the app to use your account information. You copied the Account Key, Account ID, and Account Domain values to a text editor earlier, in the "Create a Spatial Anchors resource" section.
On the Project pane, go to Assets\AzureSpatialAnchors.SDK\Resources.
Select SpatialAnchorConfig. On the Inspector pane, enter the Account Key as the value for Spatial Anchors Account Key, the Account ID as the value for Spatial Anchors Account Id, and the Account Domain as the value for Spatial Anchors Account Domain.
Open the Scene called AzureSpatialAnchorsLocalSharedDemo found in Assets/AzureSpatialAnchors.Examples/Scenes/AzureSpatialAnchorsLocalSharedDemo by double clicking on it on the project pane
On the Project pane, go to Assets\AzureSpatialAnchors.Examples\Resources.
Select SpatialAnchorSamplesConfig. Then, in the Inspector pane, enter the Sharing Anchors Service URL (from your ASP.NET web app Azure deployment) as the value for Base Sharing Url. Append the URL with /swagger/api/anchors. It should look like this: https://<your_app_name>.azurewebsites.net/swagger/api/anchors.
Save the scene by selecting File > Save.
Export + deploy the HoloLens application
Open Build Settings by selecting File > Build Settings.
Under Scenes In Build, ensure all the scenes have a check mark next to them.
Select Build. In the dialog box, select a folder in which to export the HoloLens Visual Studio project.
When the export is complete, a folder containing the exported HoloLens project will appear.
In the folder, double-click HelloAR U3D.sln to open the project in Visual Studio.
Change the Solution Configuration to Release, change the Solution Platform to x86, and select Device from the deployment target options.
If using HoloLens 2, use ARM64 as the Solution Platform, instead of x86.

Turn on the HoloLens device, sign in, and connect the device to the PC by using a USB cable.
Select Debug > Start debugging to deploy your app and start debugging.
Running the app
In the app, select LocalSharedDemo using the arrows, then press the Go! button to run the demo. Follow the instructions to place and recall an anchor.
With Create & Share Anchor, you can create an anchor and save it to your sharing service. In return, you will get back an identifier for it that you can use to retrieve it from the sharing service. You can then run the second scenario, Locate Shared Anchor, from either your device or a different one.
With Locate Shared Anchor, you can locate previously shared anchors by entering the identifier mentioned earlier. After you pick your scenario, the app will guide you with further instructions. For example, you'll be asked to move your device around to collect environment information. Later on, you'll place an anchor in the world, wait for it to save, start a new session, and then locate it.
Clean up resources
In the preceding steps, you created Azure resources in a resource group. If you don't expect to need these resources in the future, you can delete them by deleting the resource group.
From the Azure portal menu or Home page, select Resource groups. Then, on the Resource groups page, select myResourceGroup.
On the myResourceGroup page, make sure that the listed resources are the ones you want to delete.
Select Delete resource group, type myResourceGroup in the text box to confirm, and then select Delete.
Next steps
In this tutorial, you deployed an ASP.NET Core web app in Azure, and you configured and deployed a Unity app. You created spatial anchors with the app, and you shared them with other devices by using your ASP.NET Core web app.
You can improve your ASP.NET Core web app so that it uses Azure Cosmos DB to persist the storage of your shared spatial anchors identifiers. By adding Azure Cosmos DB support, you can have your ASP.NET Core web app create an anchor today. Then, by using the anchor identifier that's stored in your web app, you can have the app return days later to locate the anchor again.
Feedback
Coming soon: Throughout 2024 we will be phasing out GitHub Issues as the feedback mechanism for content and replacing it with a new feedback system. For more information see: https://aka.ms/ContentUserFeedback.
Submit and view feedback for

