Get started with the web calling sample
The web calling sample is a web application that serves as a step-by-step walkthrough of the various capabilities provided by the Communication Services web Calling SDK.
This sample was built for developers and makes it very easy for you to get started with Communication Services. Its user interface is divided into multiple sections, each featuring a "Show code" button that allows you to copy code directly from your browser into your own Communication Services application.
Get started with the web calling sample
Important
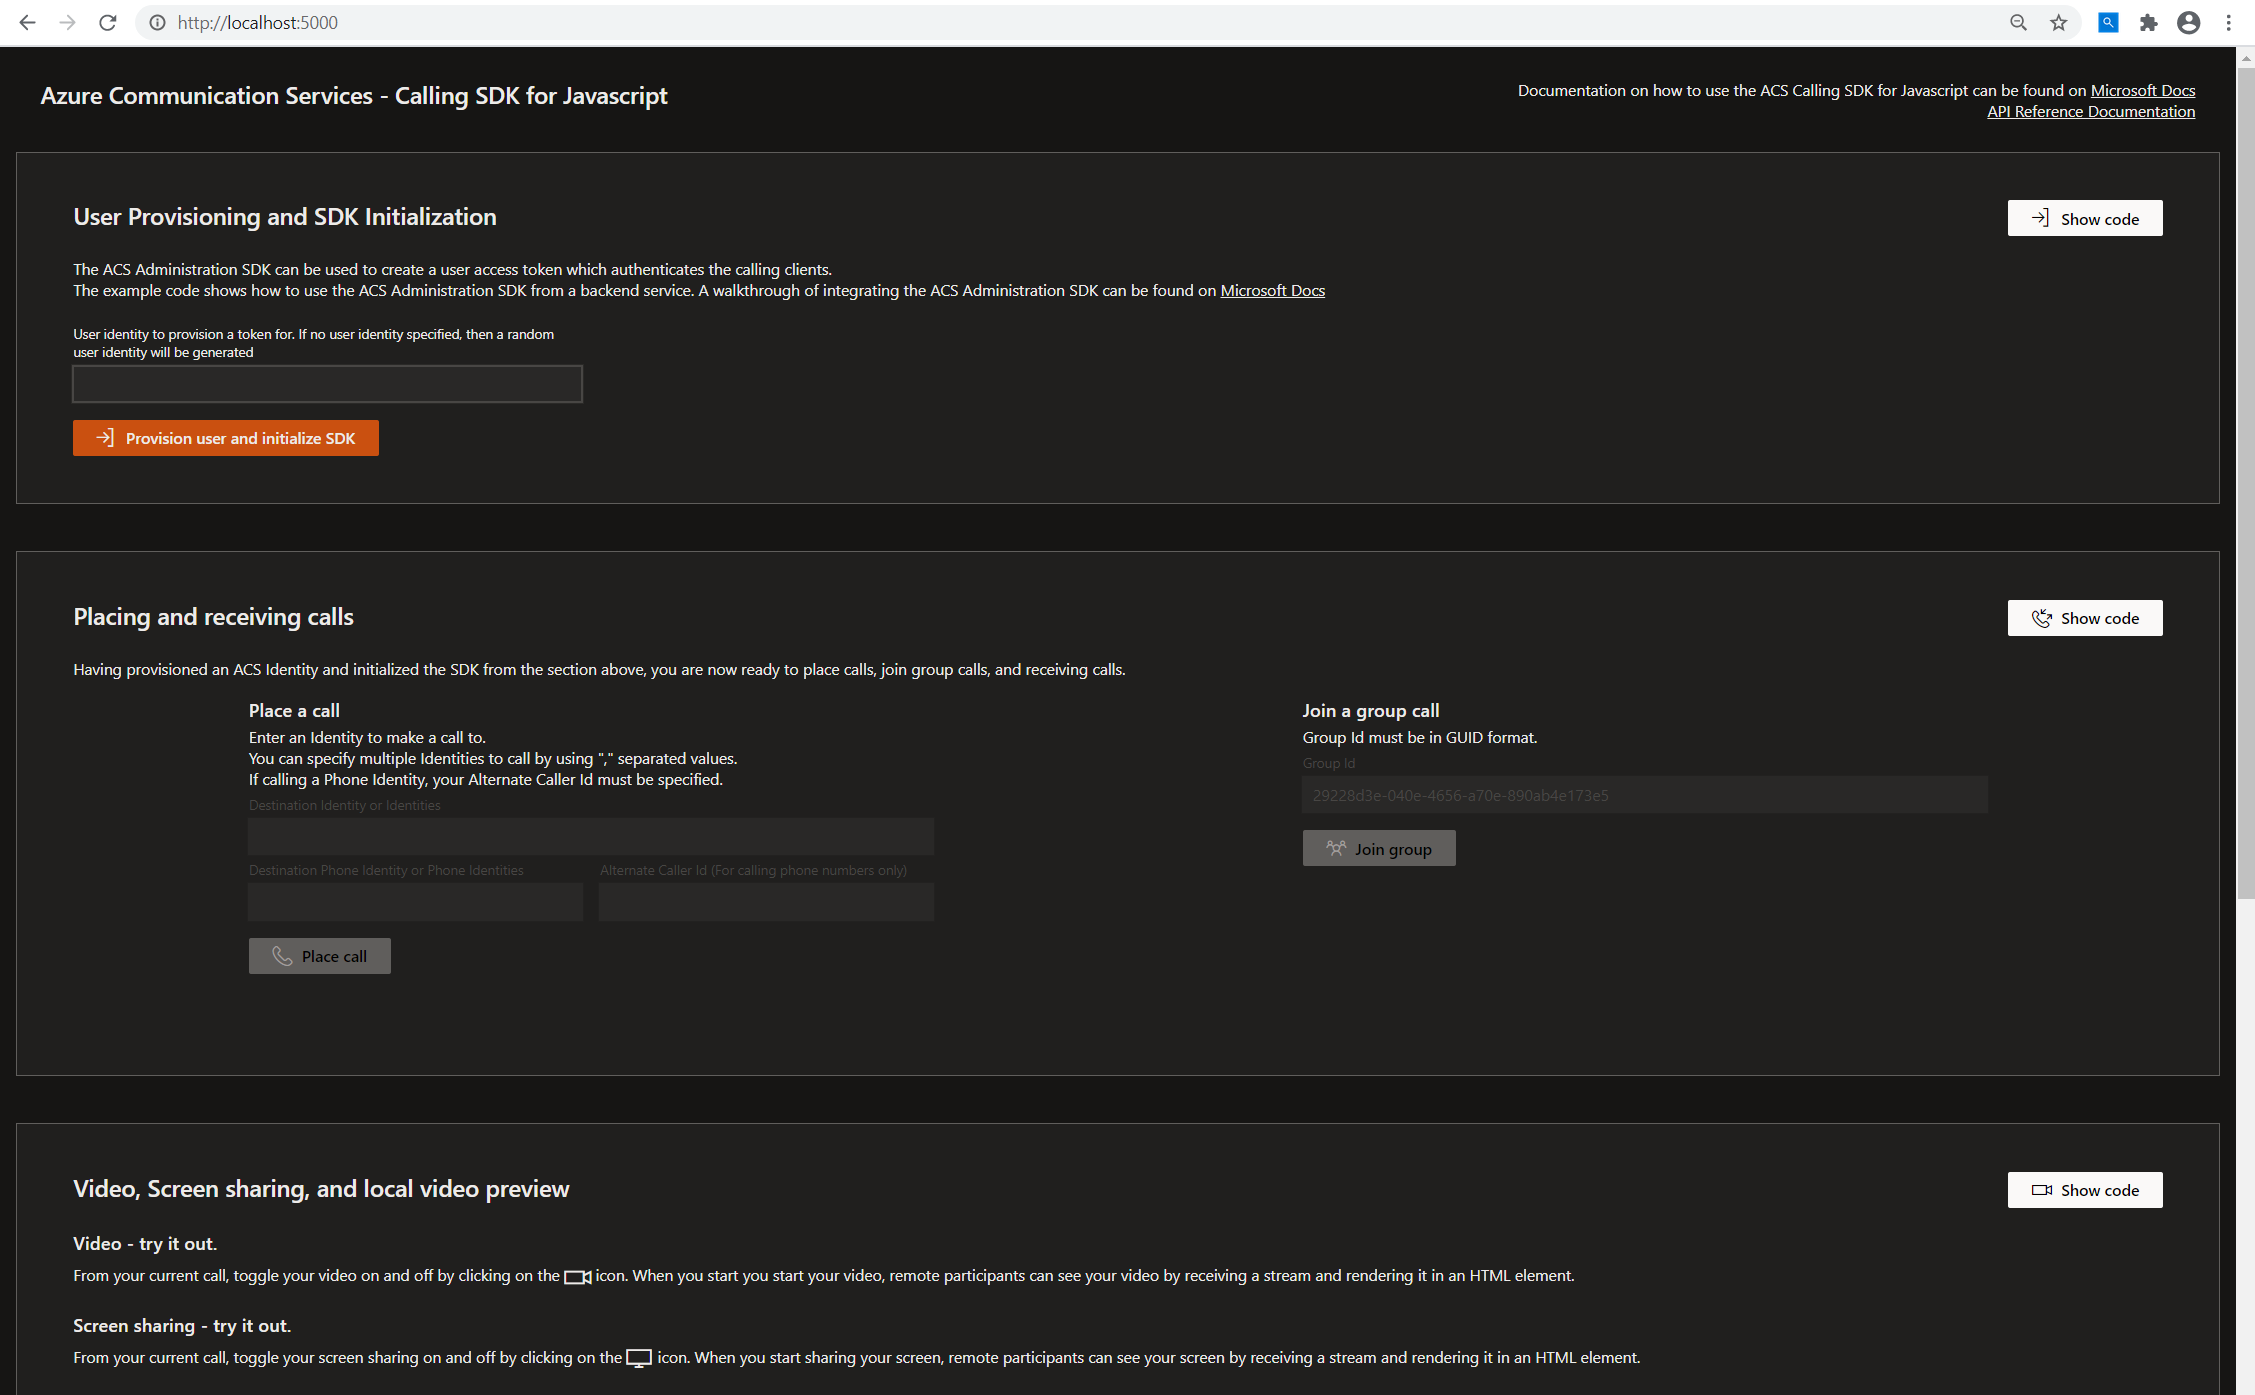
Follow the /Project/readme.md to set up the project and run it locally on your machine. Once the web calling sample is running on your machine, you'll see the following landing page:
User provisioning and SDK initialization
Click on the "Provisioning user and initialize SDK" to initialize your SDK using a token provisioned by the backend token provisioning service. This backend service is in /project/webpack.config.js.
Click on the "Show code" button to see the sample code that you can use in your own solution.
You should see the following once your SDK is initialized:
You're now ready to begin placing calls using your Communication Services resource!
Placing and receiving calls
The Communication Services web Calling SDK allows for 1:1, 1:N, and group calling.
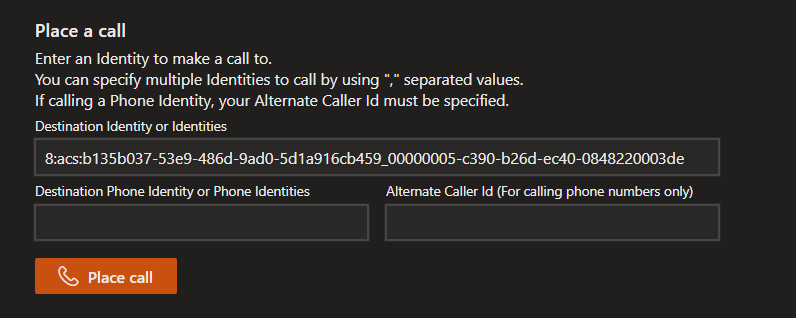
For 1:1 or 1:N outgoing calls, you can specify multiple Communication Services User Identities to call using comma-separated values. You can also specify traditional (PSTN) phone numbers to call using comma-separated values.
When calling PSTN phone numbers, specify your alternate caller ID. Click on the "Place call" button to place an outgoing call:
To join a group call, enter the GUID that identifies the call and click on the "Join group" button:
Click on the "Show code" button to see the sample code for placing calls, receiving calls, and joining group calls.
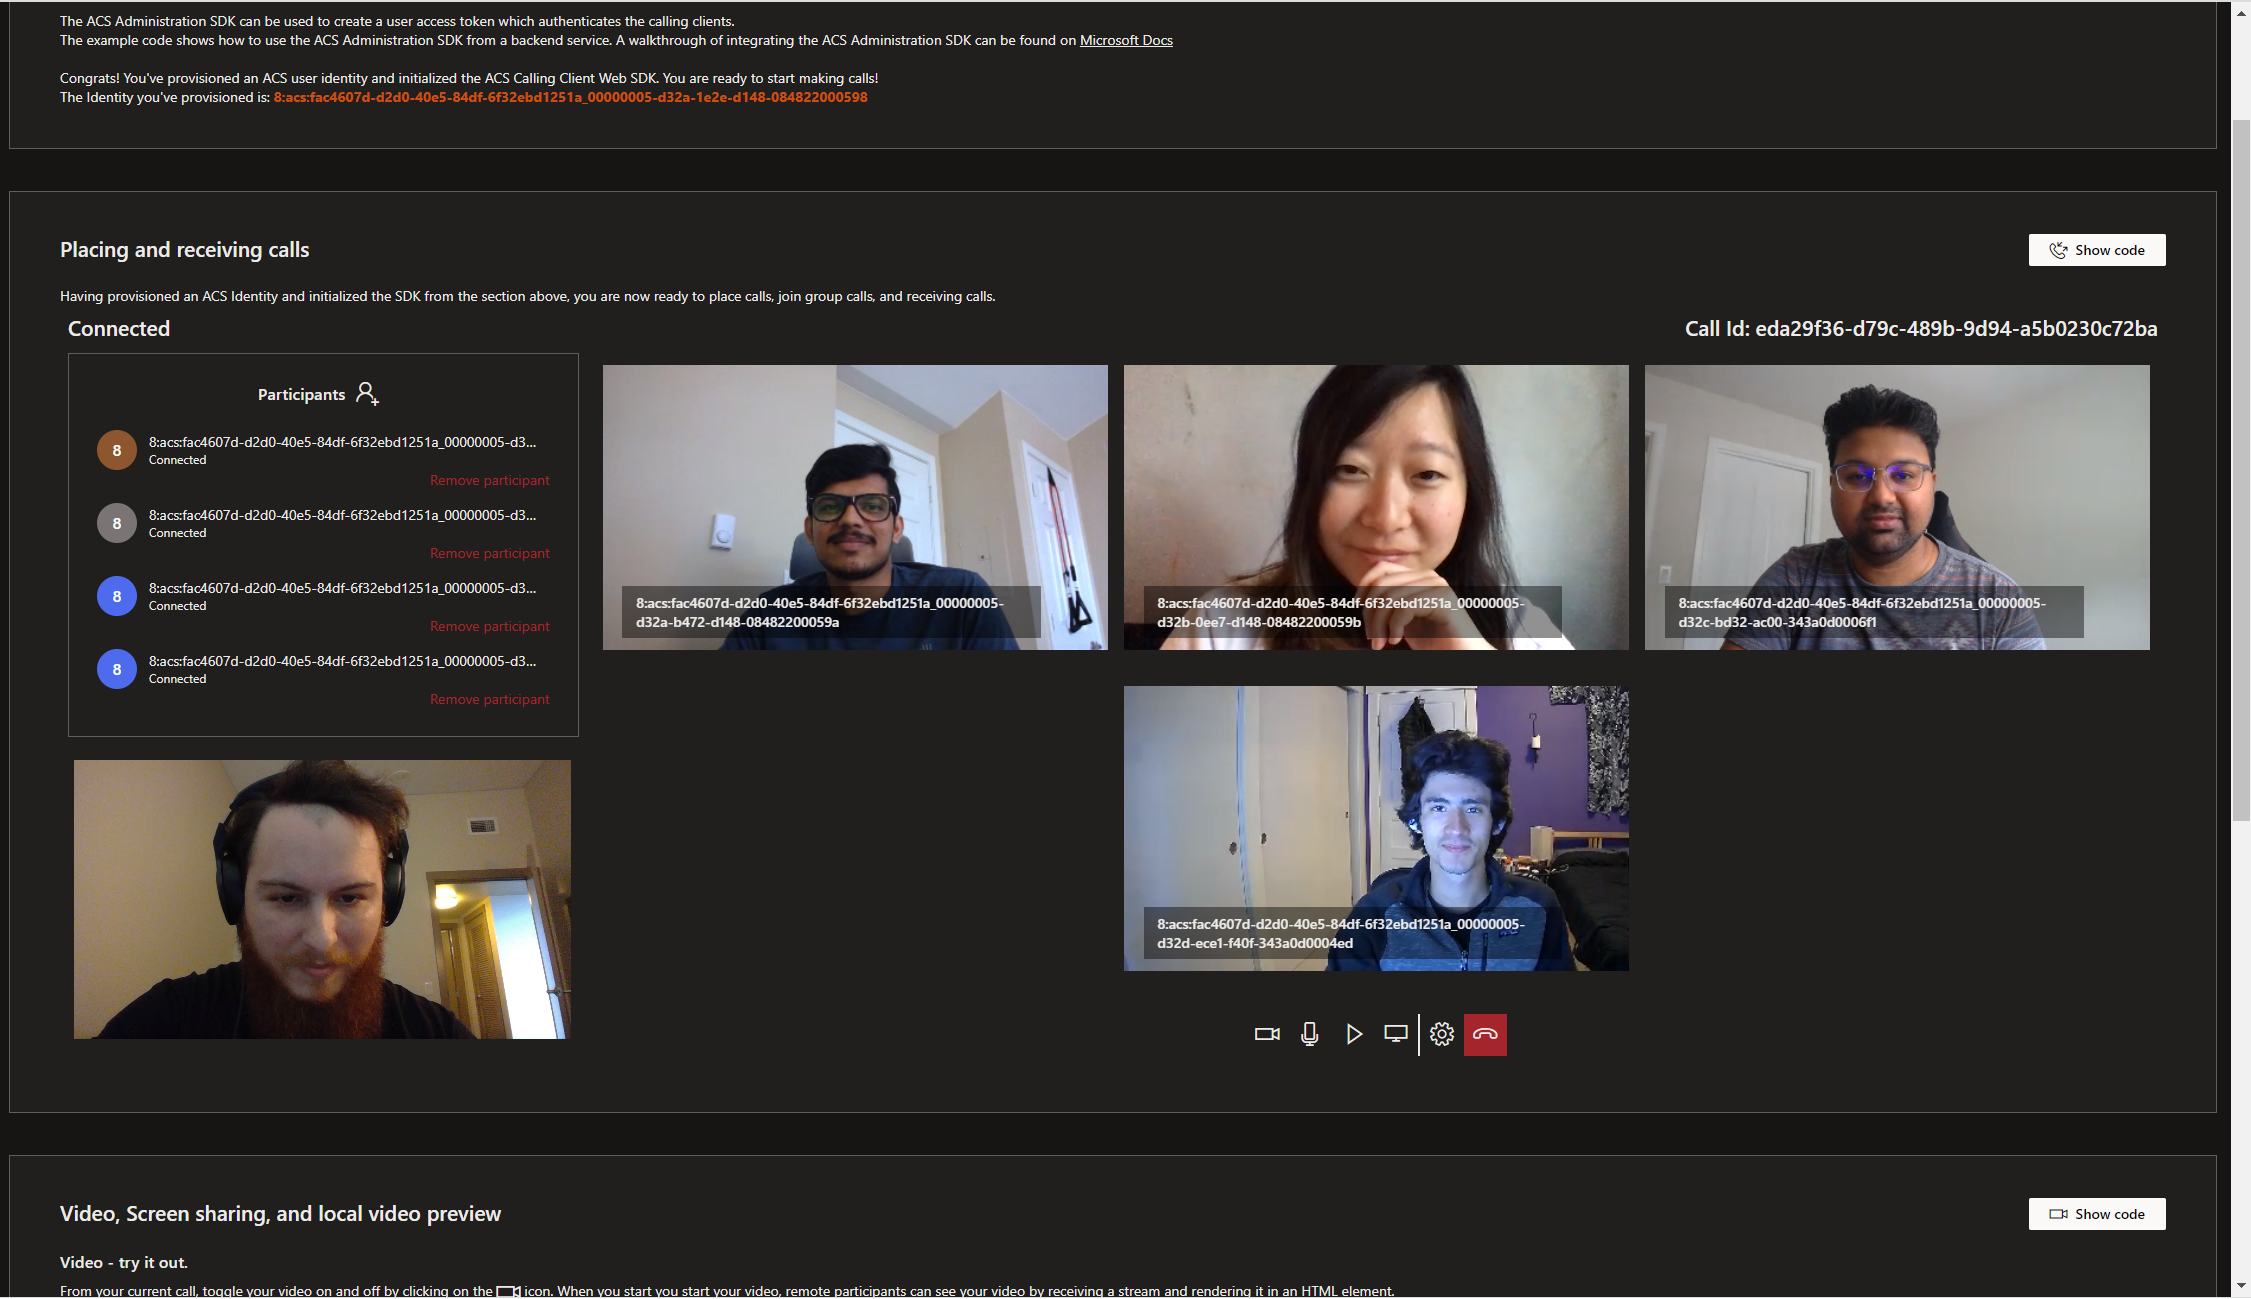
An active call looks like this:
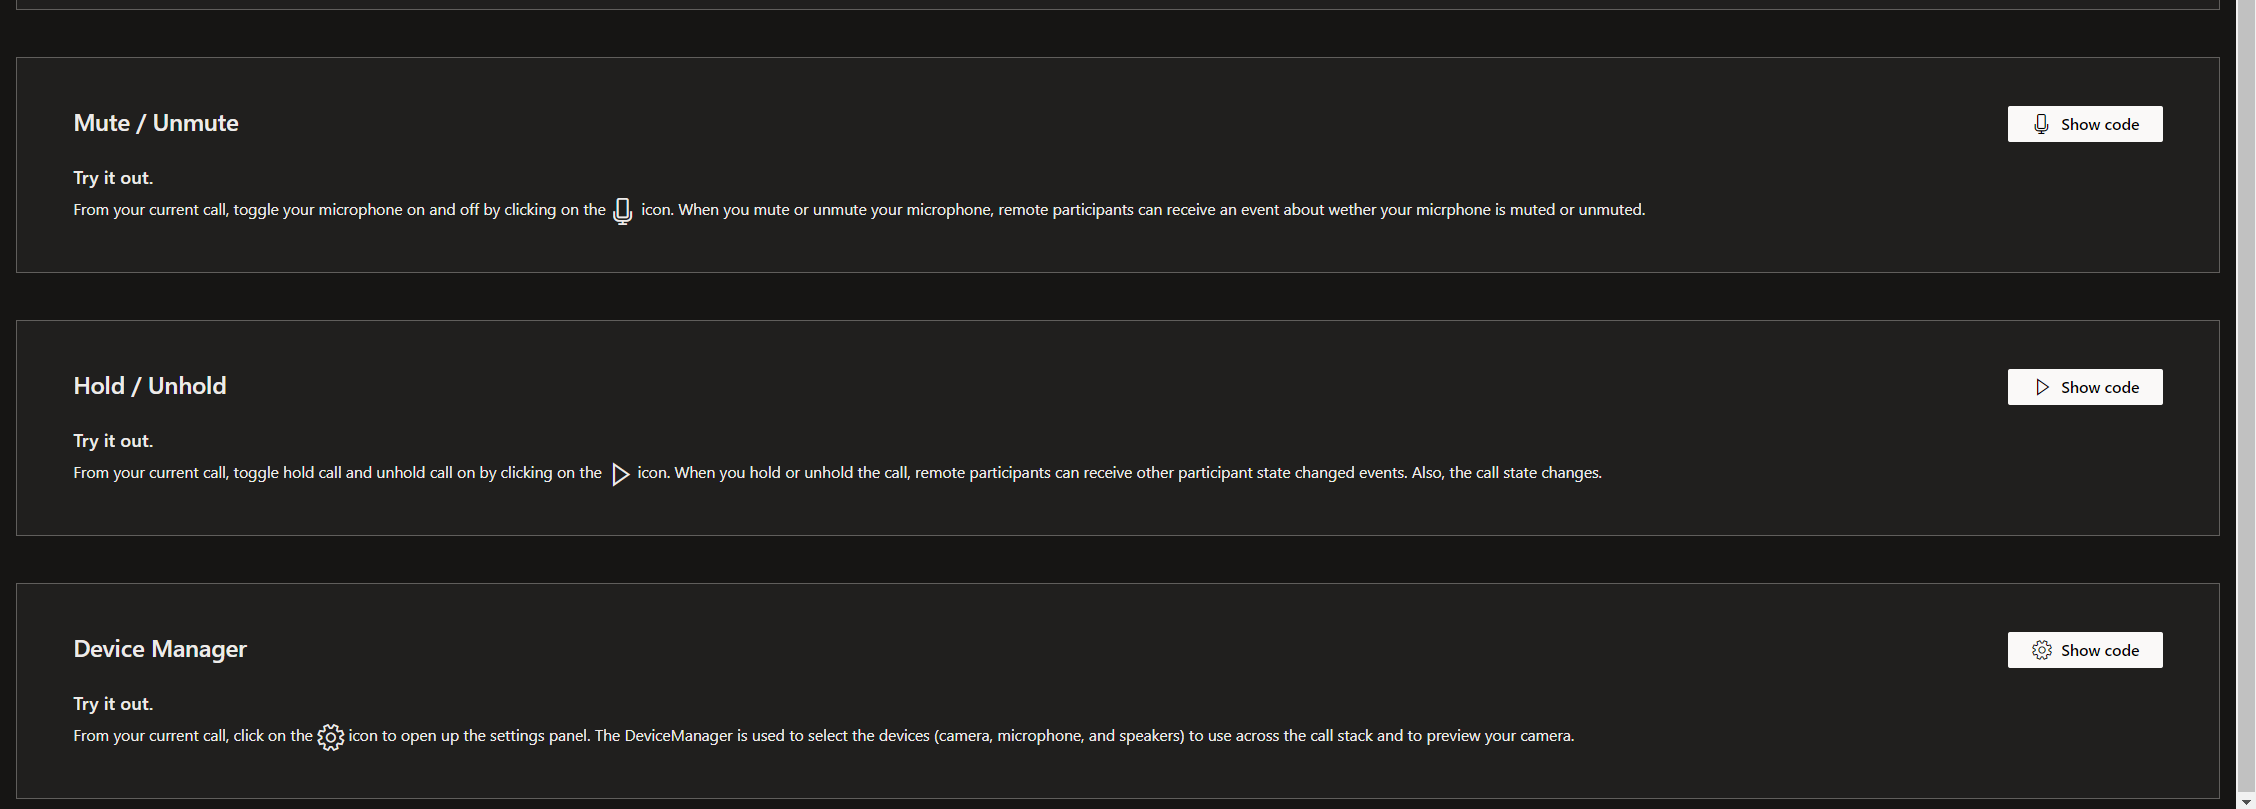
This sample also provides code snippets for the following capabilities:
- Clicking on the video icon to turn your video camera on/off
- Clicking on the microphone icon to turn your microphone on/off
- Clicking on the play icon to hold/unhold the call
- Clicking on the screen icon to start/stop share your screen
- Clicking on person icon to add a participant to the call
- Clicking on "Remove participant" in the participant roster to remove a specific participant from the call
Next steps
For more information, see the following articles:
- Familiarize yourself with using the Calling SDK
- Learn more about how calling works
- Review the API Reference docs
- Review the Contoso Med App sample
Additional reading
- Samples - Find more samples and examples on our samples overview page.
- Redux - Client-side state management
- FluentUI - Microsoft powered UI library
- React - Library for building user interfaces
- ASP.NET Core - Framework for building web applications
Feedback
Coming soon: Throughout 2024 we will be phasing out GitHub Issues as the feedback mechanism for content and replacing it with a new feedback system. For more information see: https://aka.ms/ContentUserFeedback.
Submit and view feedback for


